
Scanning is a straightforward process, but getting high-quality digital copies of your photos and documents requires a bit of planning and attention to detail. Here are the most important basics every beginner should know before starting their scanning journey.
Plan Ahead
- Decide how you’ll use your scans: Are they for printing, sharing online, or archiving? This will determine the settings you use, such as resolution and file format.
- Organize your originals. Clean photos and documents to remove dust or smudges before scanning for the best results.


The Scanning Process: Step-by-Step
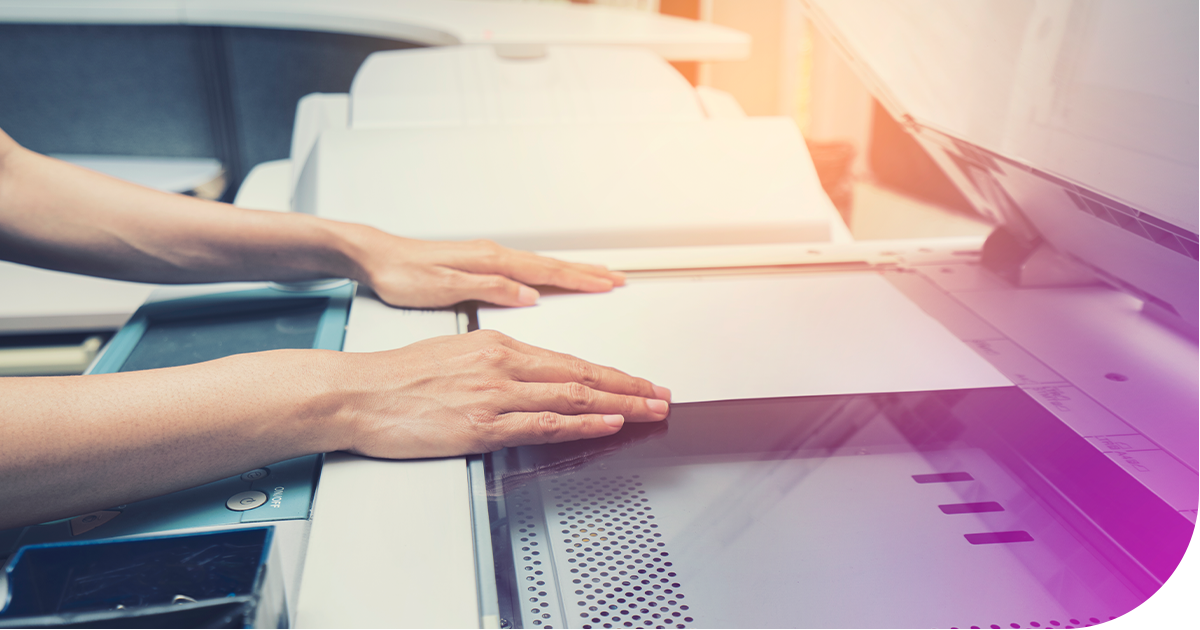
- Place the Original on the Scanner
- Lay your photo or document face down on the scanner bed. Make sure it’s flat and aligned with the edges for an even scan.
- Open Your Scanning Software
- Use the software that came with your scanner or a program like Adobe Photoshop or Epson Scan 2.
- Select the appropriate mode (e.g., “Photo Mode” for pictures, “Document Mode” for text).
- Preview and Adjust
- Use the preview function to check the scan area. Crop to scan only what you need, which saves storage space and time.
- Adjust brightness and contrast if necessary to improve legibility and color accuracy.
- Set the Resolution
- For web or email: 96 dpi (dots per inch) is usually enough.
- For printing: At least 300 dpi is recommended.
- For enlargements or archival: Go higher, but remember higher resolution means larger file sizes.
- Choose File Format
- Photos: JPEG for sharing, TIFF or PNG for higher quality and archiving.
- Documents: PDF is best for multi-page documents or text, but PNG or TIFF works for single pages.
- Scan and Save
- Name your files clearly and use folders to stay organized.
- Save to a location you’ll remember, and back up your scans to cloud storage or an external drive.
Pro Tips for Better Scans
- Do a Test Scan: Try scanning a sample page or photo first to check your settings and make adjustments before scanning a large batch.
- Adjust the Lid: Make sure the scanner lid is closed tightly to avoid unwanted light and blurry scans. For thick originals, gently press down or use a book to ensure good contact.
- Handle Delicate Photos Carefully: Avoid using high-speed auto-feed scanners for fragile or mounted photos, as they can be damaged easily.
- Edit After Scanning: Use basic editing tools to crop, rotate, or enhance your images as needed after scanning.
Common Scanning Settings Comparison
Setting |
For Web/
|
For Print |
For Archival/
|
|---|---|---|---|
Resolution (dpi) |
96 | 300+ | 600+ |
File Format |
JPEG, PNG | JPEG, TIFF | TIFF, PNG |
Color Mode |
24-bit Color | 24-bit Color | 24-bit Color |
Final Thoughts
Scanning isn’t just about pressing a button—it’s about making choices that ensure your digital copies are clear, useful, and easy to find. By following these basics, you’ll be well on your way to scanning like a pro, whether you’re preserving family photos or digitizing important paperwork.
Additional Resources
- Understanding Digital Image Formats - US National Park Service (NPS)
- Understanding PPI (Pixels per Inch), DPI (Dots per Inch) and Digital Display - US National Park Service (NPS)
- Mastering the Basics of Scanning Photos - RockyNook
- Best Way to Scan Old Photos to Digital ▶️ - MiddleSiggy's Digital Word
- All About Images: Scanning Images - University of Michigan Library
- Scanning Basics - Scripps College
- Digitizing Photographs - Telling Our Stories Tool Kit (University of Oregon)
- Digital Archiving Best Practices - Brooklyn Library
- Personal Digital Archiving Day Resources - U.S. Library of Congress