
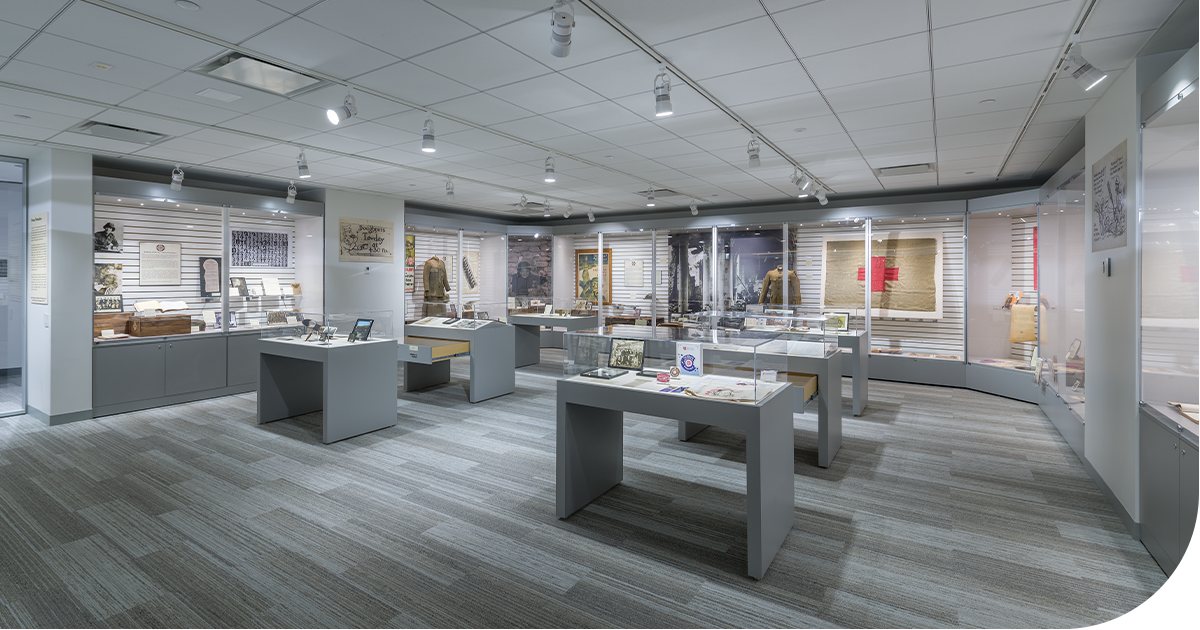
Exhibitions are among the most visible ways museums can share their collections with their communities. They also create conditions that can put objects at greater risk than they experience in storage: more handling, longer light exposure, environmental change and closer public access.
A strong exhibition plan does not need to be overly complicated, but it should be intentional. From the first object selection meeting through deinstallation, collections staff, exhibit teams, and facilities partners should work from the same preservation priorities: maintain stable conditions, minimize handling, provide support and monitor objects throughout the exhibition's run.
Manage the Exhibit Environment
Stable temperature and relative humidity (RH) are foundational to preventive conservation. Sudden or repeated fluctuations can cause materials to expand and contract, increasing the risk of warping, cracking, delamination, corrosion, mold growth and other forms of deterioration.
Whenever possible, avoid displaying objects near exterior doors, open windows, supply vents, radiators or other locations where conditions can change quickly. These areas may also introduce dust, pollutants, insects and outdoor moisture into the gallery.
For objects that need additional protection, a well-sealed display space creates a more stable microenvironment. Conditioned silica gel can help buffer the RH inside an enclosure, but it should be selected for the target RH, properly conditioned and monitored throughout the exhibition. A loosely sealed case may not provide enough control to justify using silica gel.
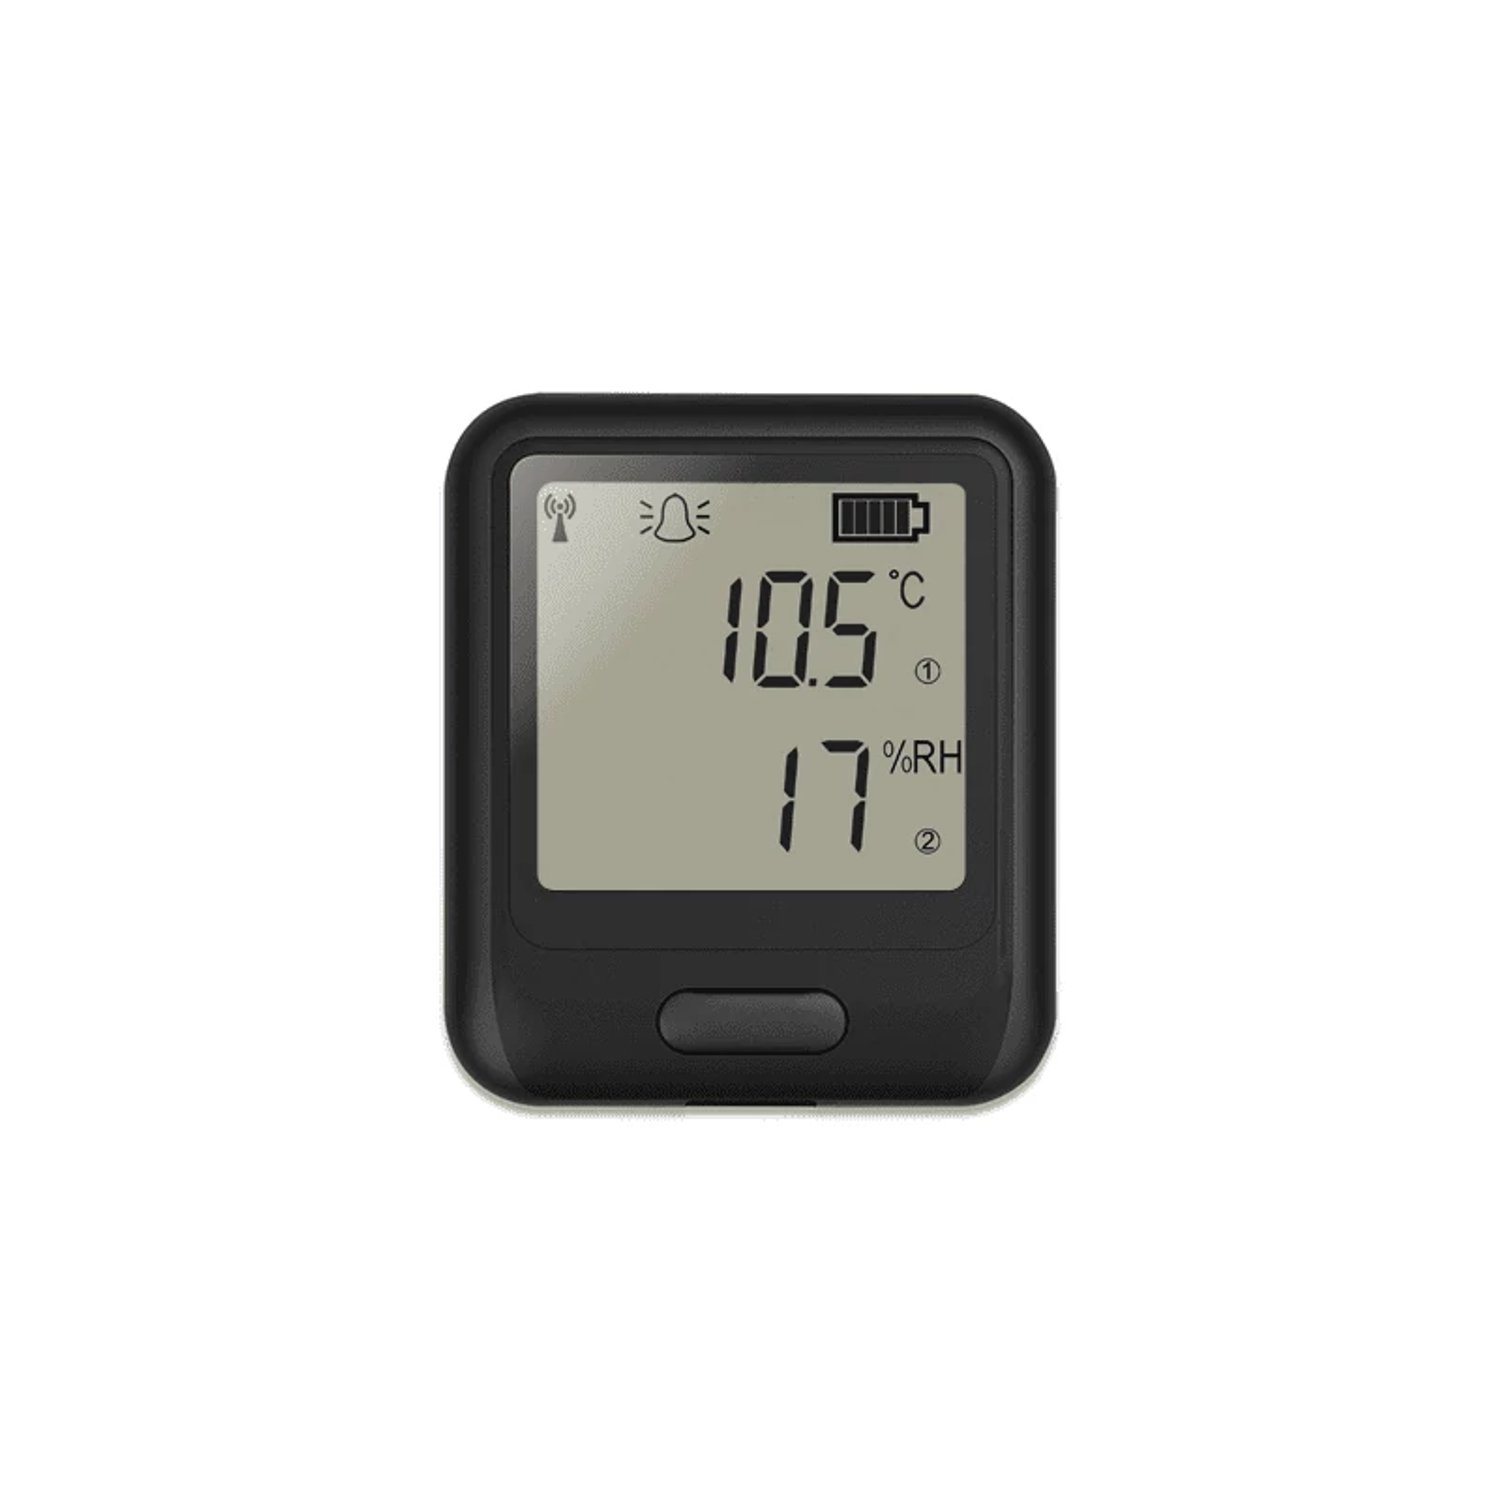
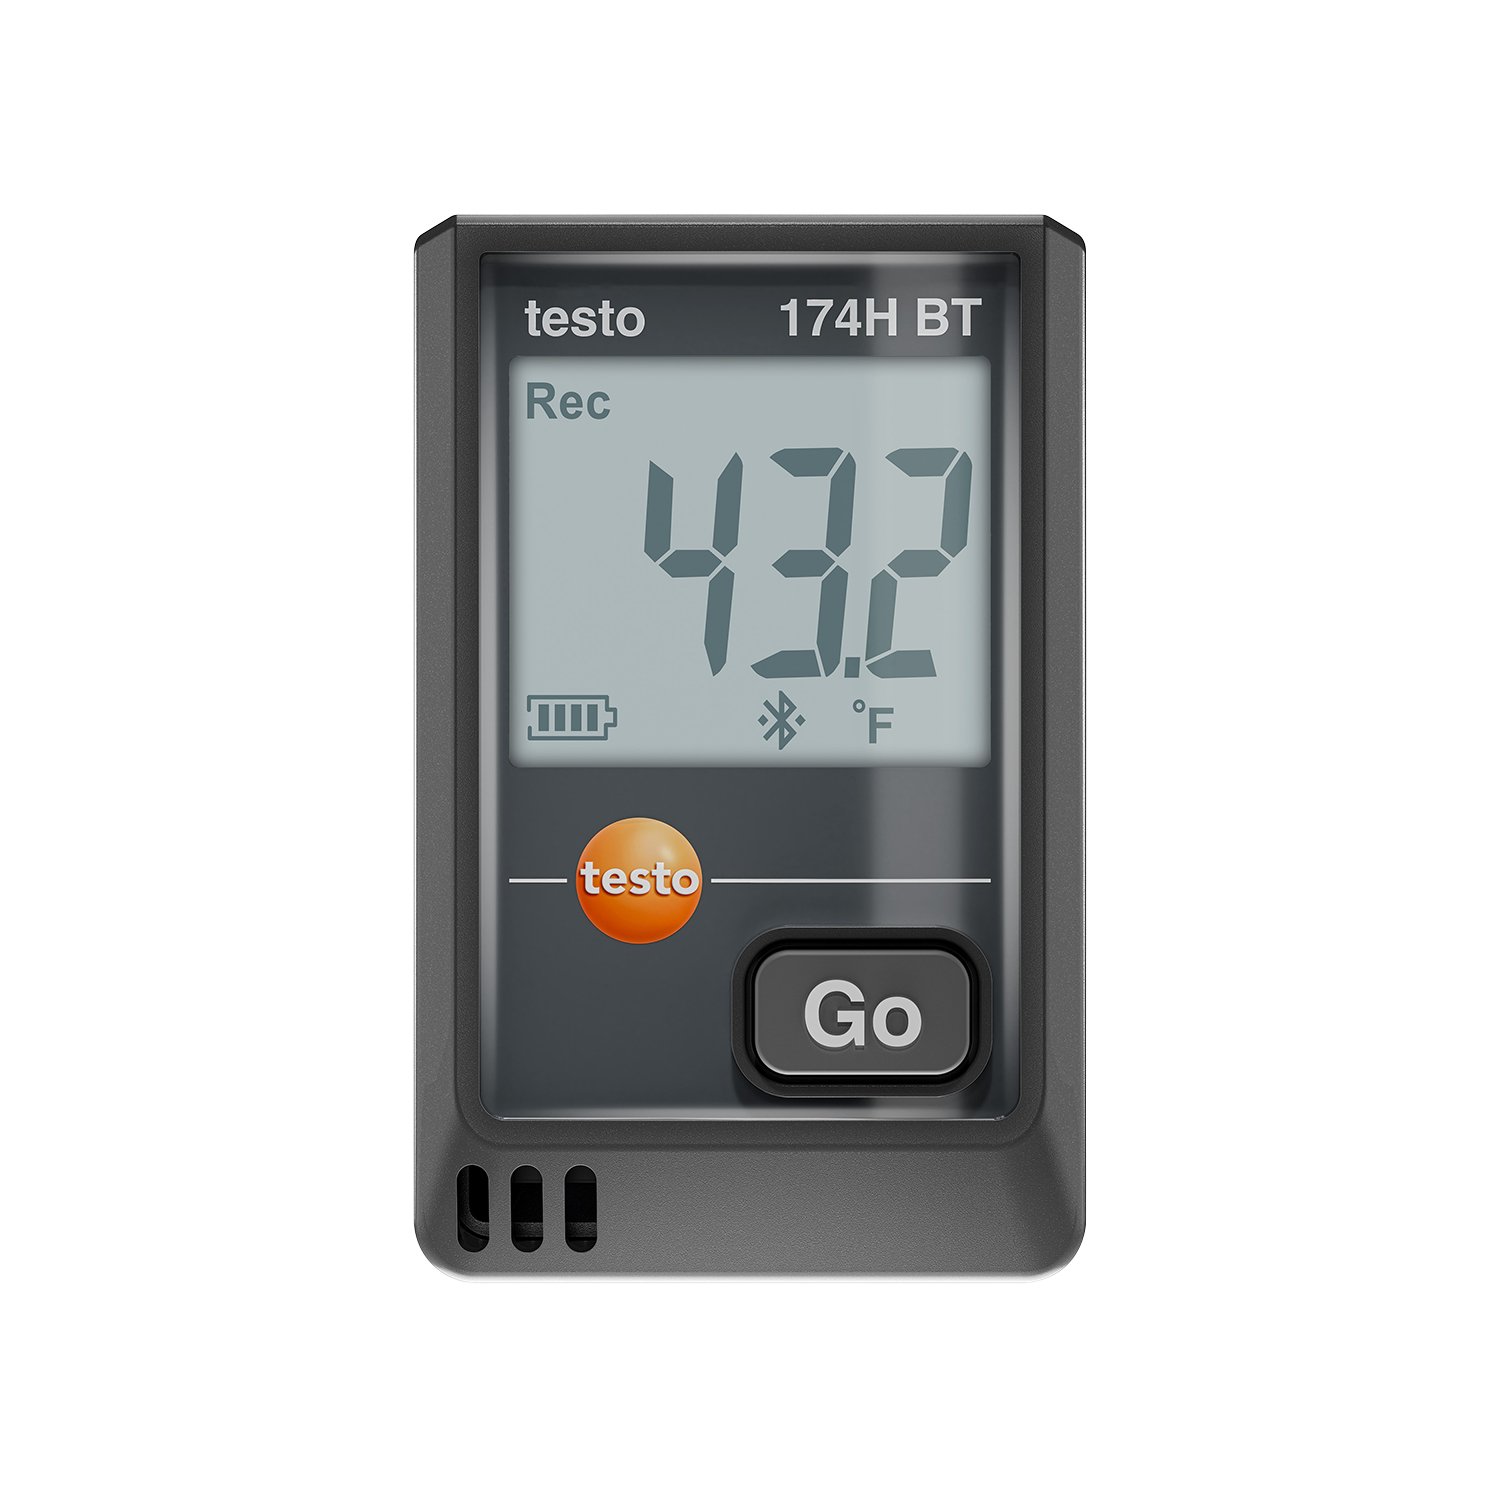
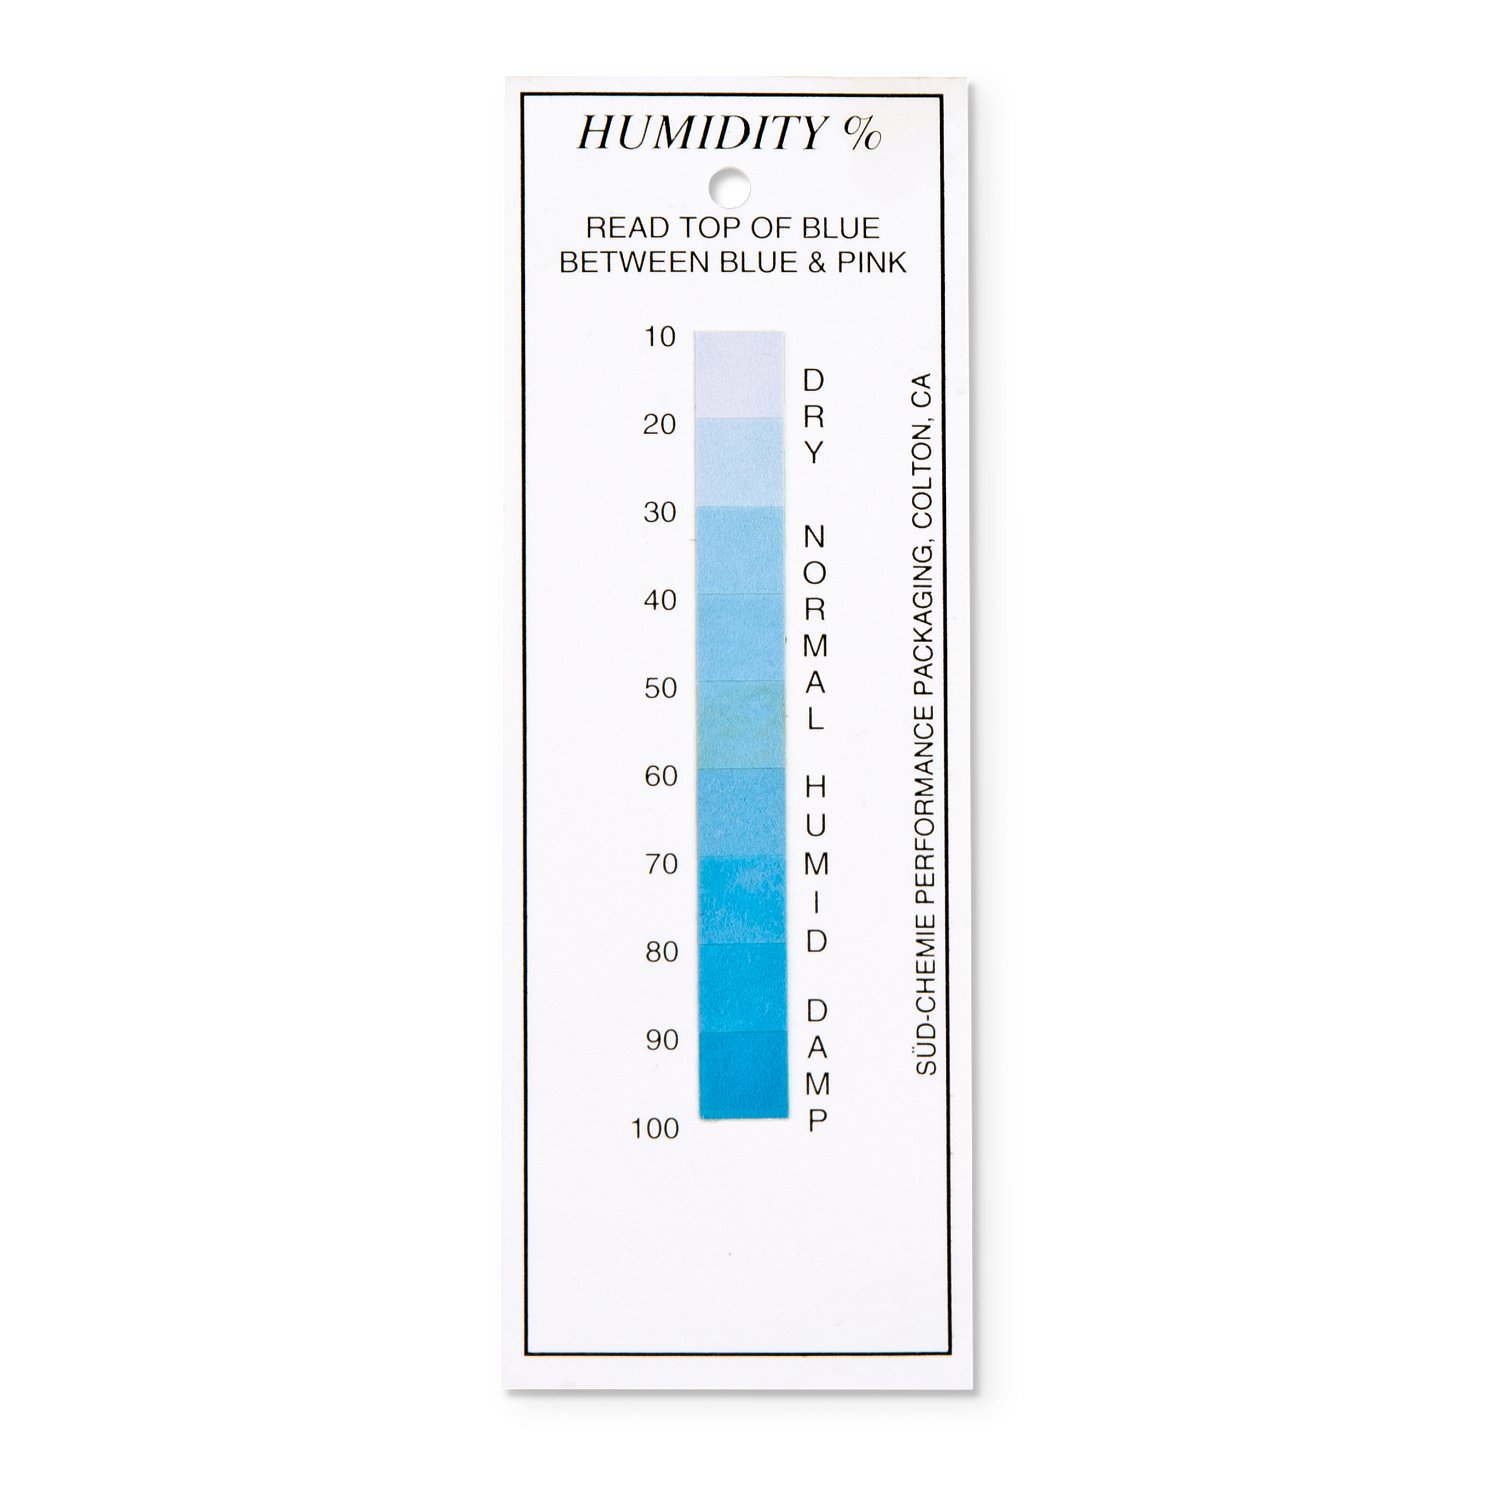
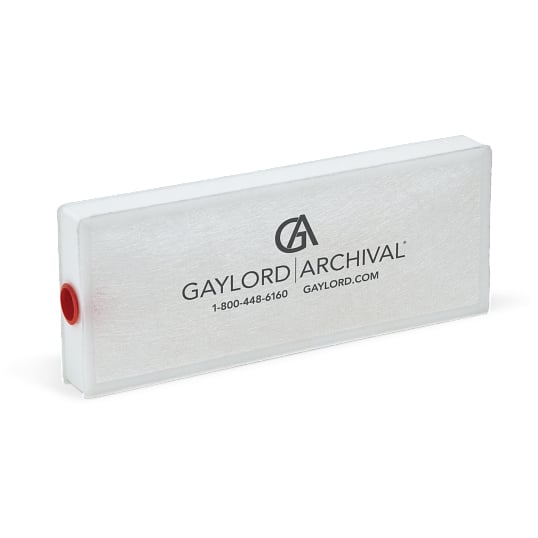
Use data loggers, thermohygrometers and humidity indicator cards to establish baseline conditions before installation and to identify issues during the exhibit run. If you are monitoring a case, measure conditions inside the case—not just in the surrounding gallery. Reviewing data after HVAC changes, weather events or changes to gallery lighting can help staff catch problems before they affect collections.
Control Light Exposure
Light damage is cumulative, irreversible, and often easy to underestimate. Even when ultraviolet radiation is filtered out, visible light can still cause fading, discoloration, embrittlement and other permanent changes over time.
Set light levels based on each object's sensitivity, condition and planned display duration. Paper, manuscripts, photographs, textiles, dyed leather, feathers, watercolors and other highly light-sensitive materials should generally be displayed at low light levels—often no more than 50 lux or approximately 5 foot-candles. Less-sensitive materials may tolerate higher levels, but they still benefit from careful control and limited exposure.
| Object sensitivity | Typical materials | Exhibition approach |
|---|---|---|
| Highly light-sensitive | Paper, books, manuscripts, photographs, textiles, dyed leather, feathers, watercolors | Keep illumination at or below 50 lux / approximately 5 foot-candles. Limit duration, rotate originals, or use facsimiles when appropriate. |
| Moderately light-sensitive | Many wood objects, oil paintings, black-and-white photographs, undyed leather | Often display at roughly 50–150 lux / 5–15 foot-candles, depending on condition and institutional policy. |
| More light-resistant | Ceramics, stone, glass, many metals | May tolerate higher light levels, but still avoid direct sunlight and unnecessary exposure. |
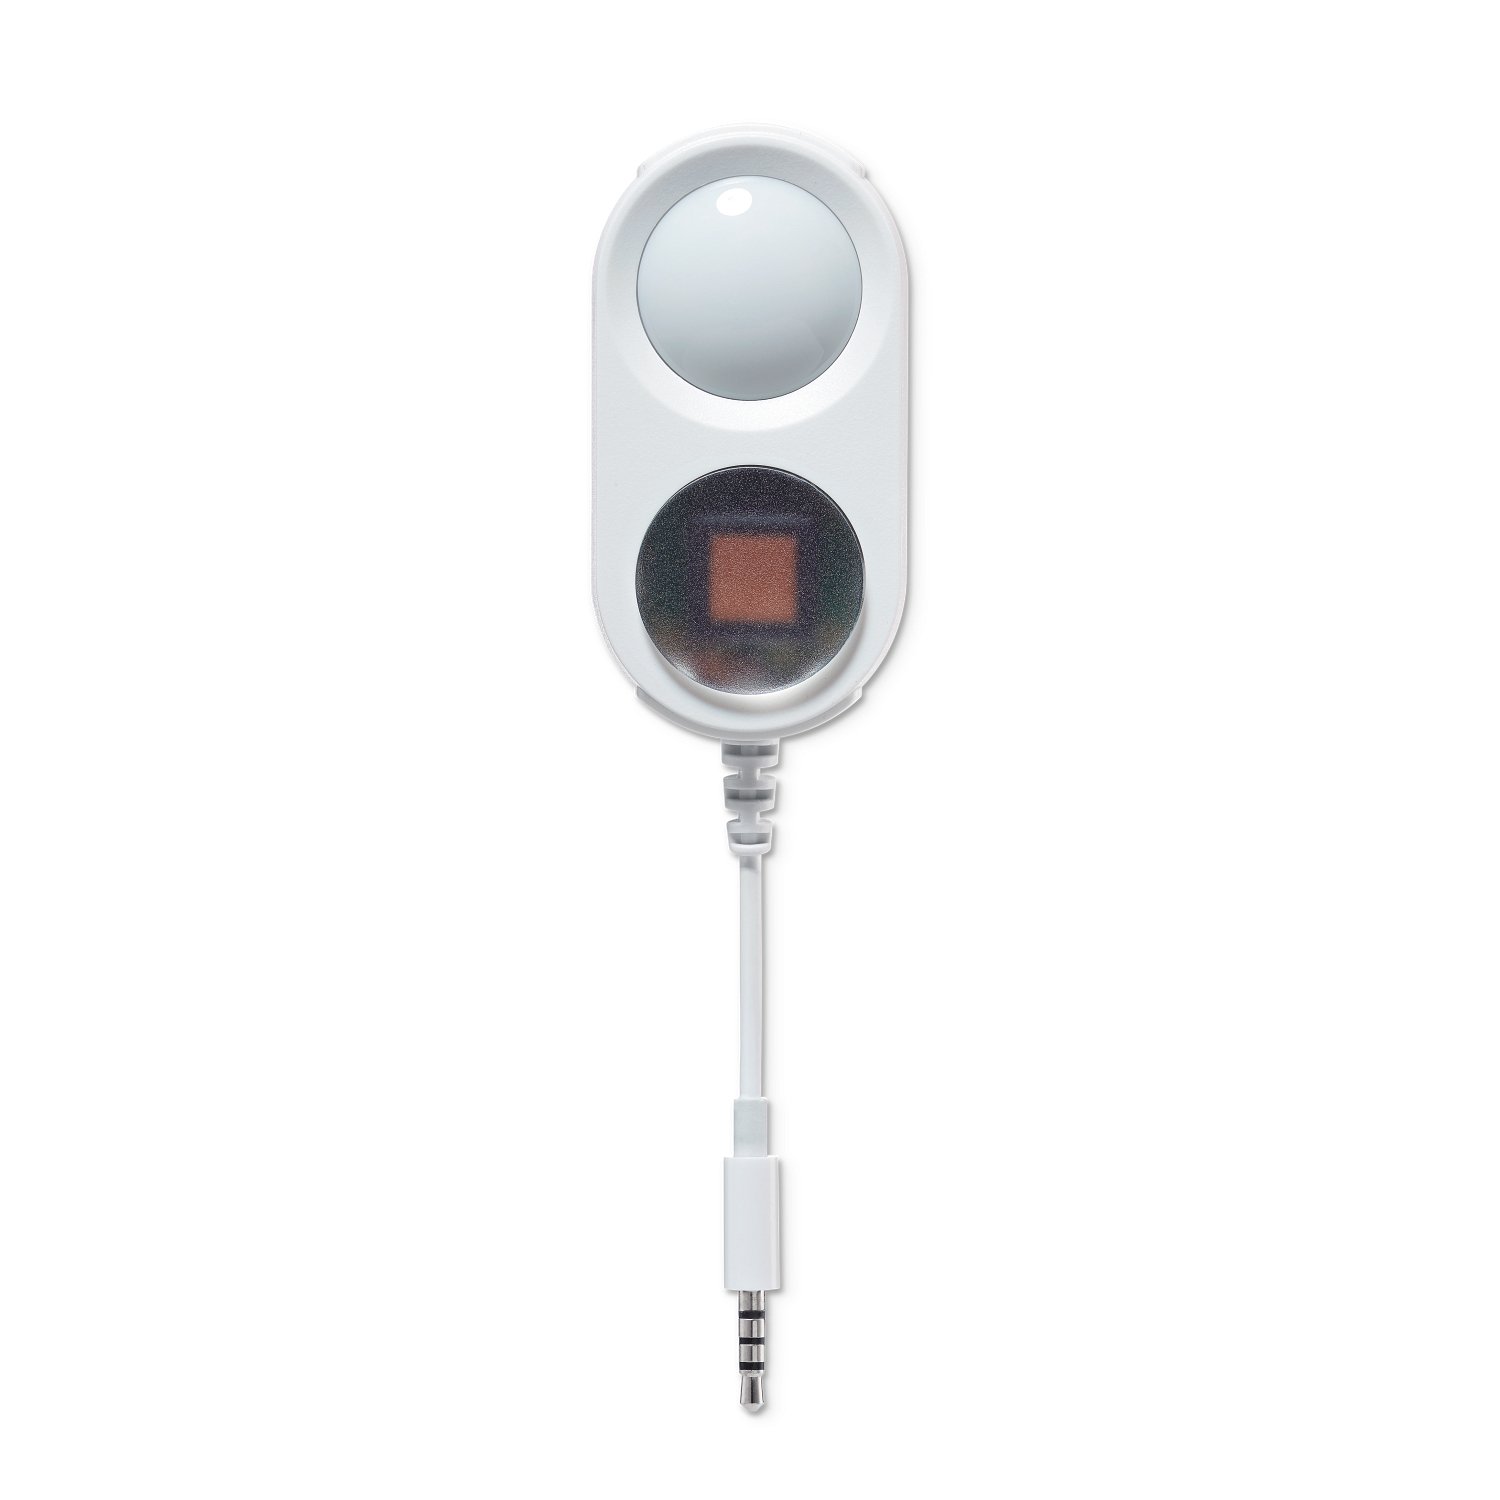
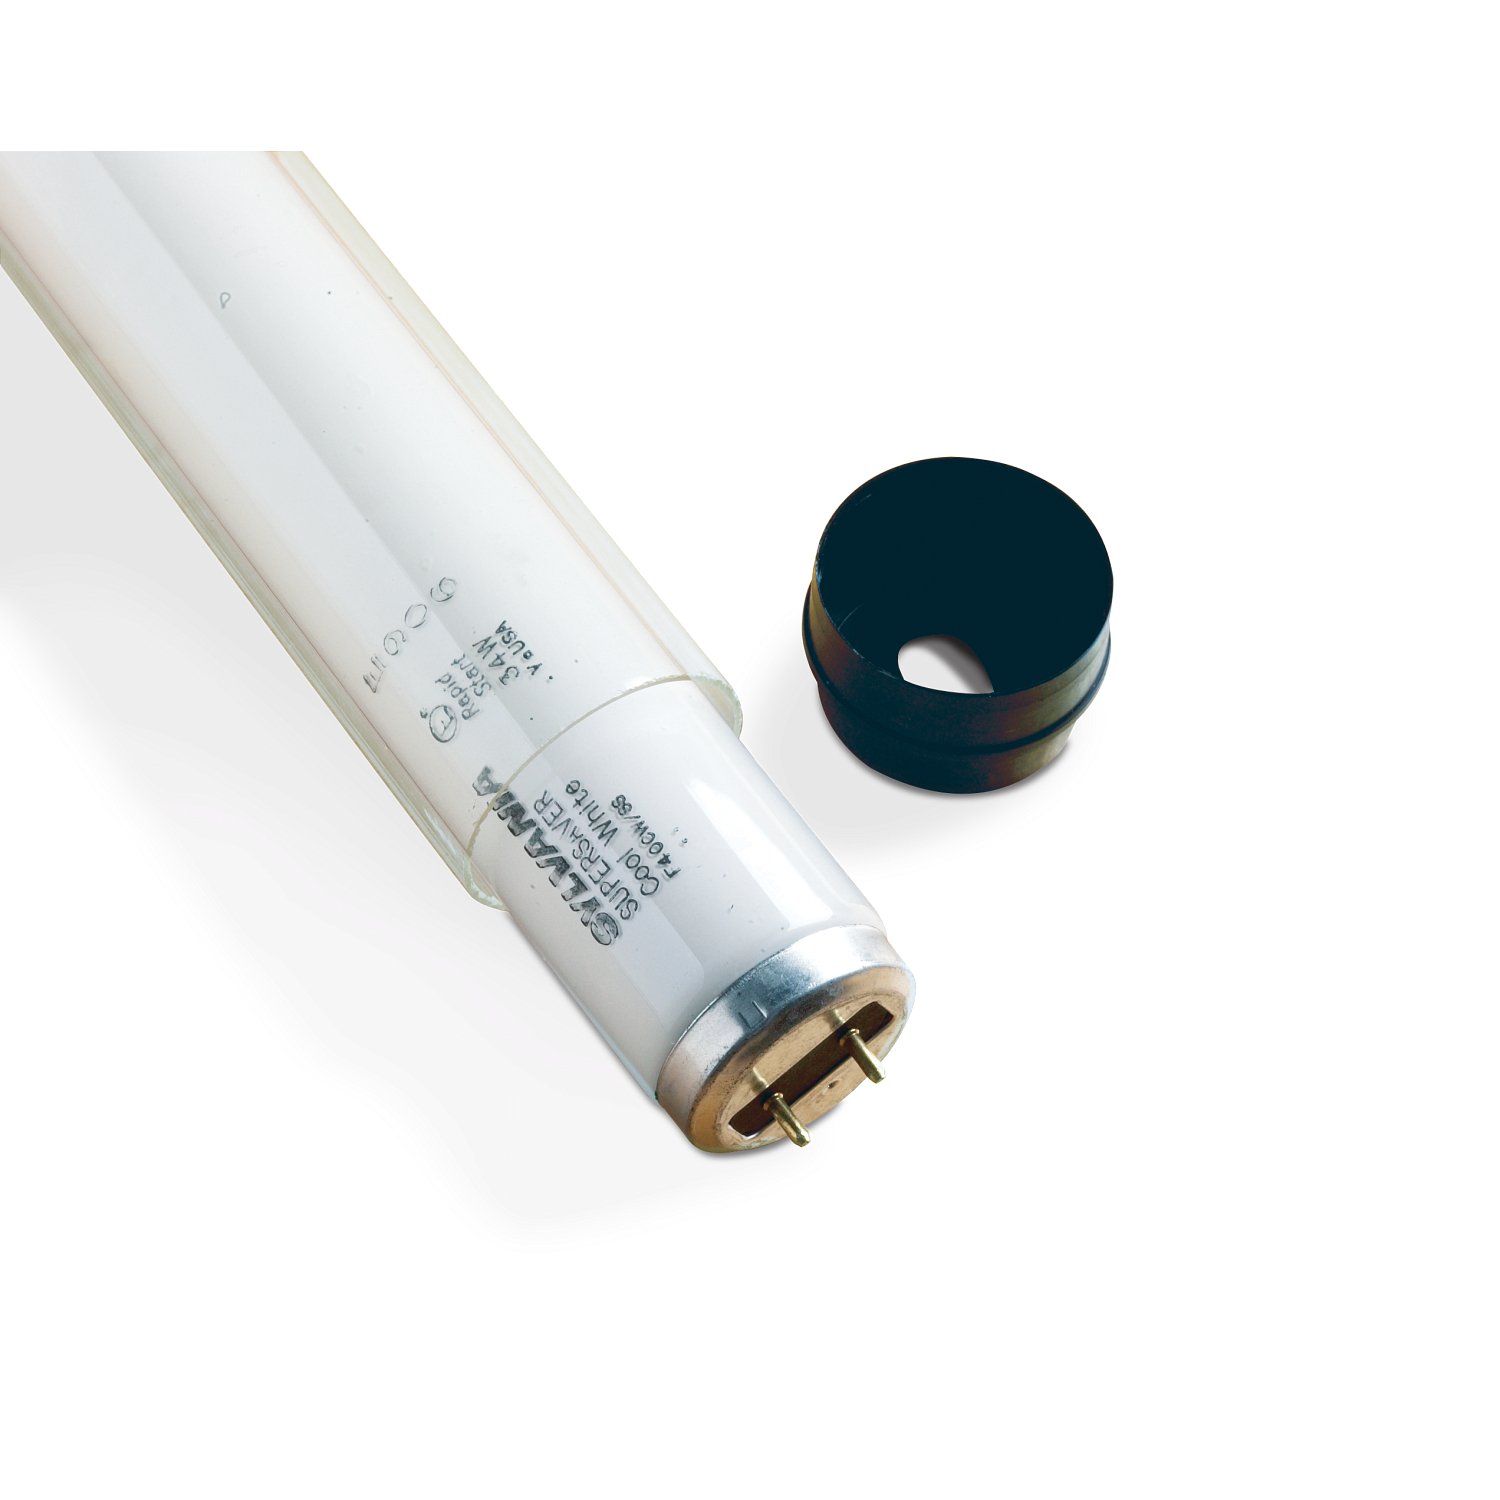
Measure illumination at the object surface with a light meter. Check readings at different times of day, particularly in daylight-lit galleries. UV-filtering window film and fixture filters are useful tools, but they are not substitutes for reducing total light exposure.
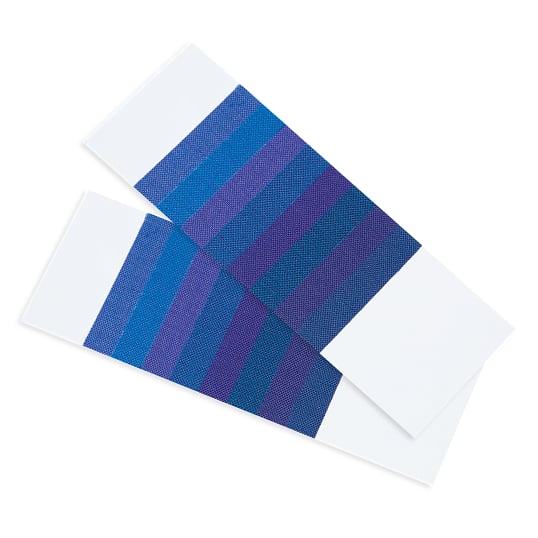
For particularly vulnerable objects, consider rotating displays, using reproductions, installing timed lighting or turning lights off when galleries are closed. Blue wool fading cards can provide a practical visual indicator of cumulative light exposure in cases and galleries.
Plan for Object Security
Security planning should begin during exhibit design, not after installation. Consider the value, vulnerability, size, and location of each object, as well as visitor circulation, sightlines, staffing and the physical security of cases, mounts, frames and pedestals.
Locked display cases, secure framing hardware, object alarms, security screws and case straps can all help deter theft and tampering. Smaller museums may rely on a combination of these physical measures with staff or volunteer observation, cameras and thoughtful gallery layout.
It is also important to plan for accidental damage. A case can be locked and still be positioned where visitors can lean on it, bags can strike it or children can reach an exposed object. Review pedestal height and stability, barriers, object clearance, cable management and traffic patterns before final installation.
Prepare for Movement and Handling
Every movement should be planned before an object leaves storage. Review the object’s condition, weight, dimensions, center of gravity, vulnerable areas and preferred orientation. Document pre-existing damage with a condition report and photographs so the installation team has a clear baseline.
Walk the entire route from storage to the gallery. Measure doorways and elevators, note tight corners and uneven transitions, and identify any points where the object will need to be set down or reoriented. Confirm who is responsible for handling, route clearance, door operation and communication.
Use padded carts, trays, handling boards, dollies or other appropriate equipment whenever possible. Direct hand-carrying may be suitable for small, stable objects, but larger, fragile or awkward materials need more support. Never lift objects by handles, finials, frame edges, lids, projecting features or other elements that are not designed to bear weight.
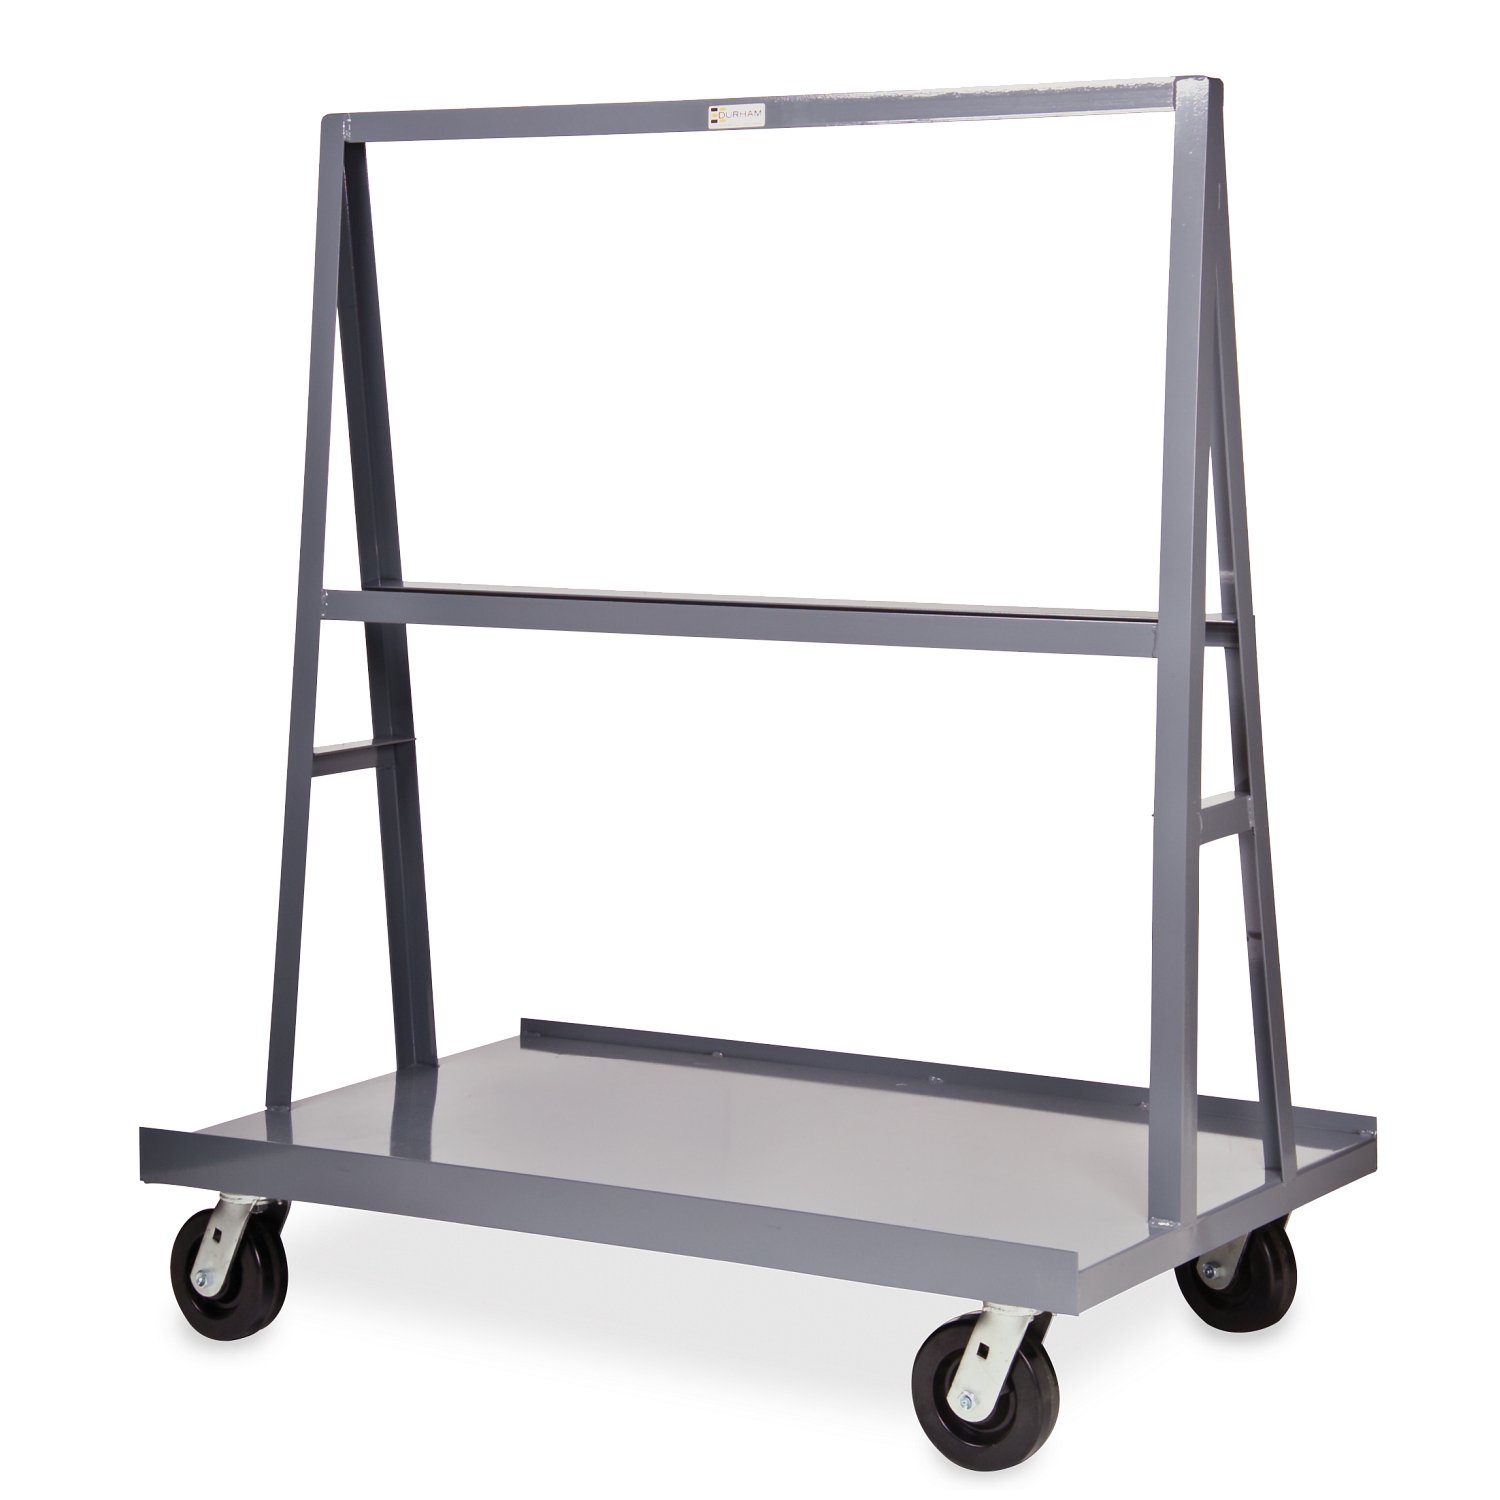
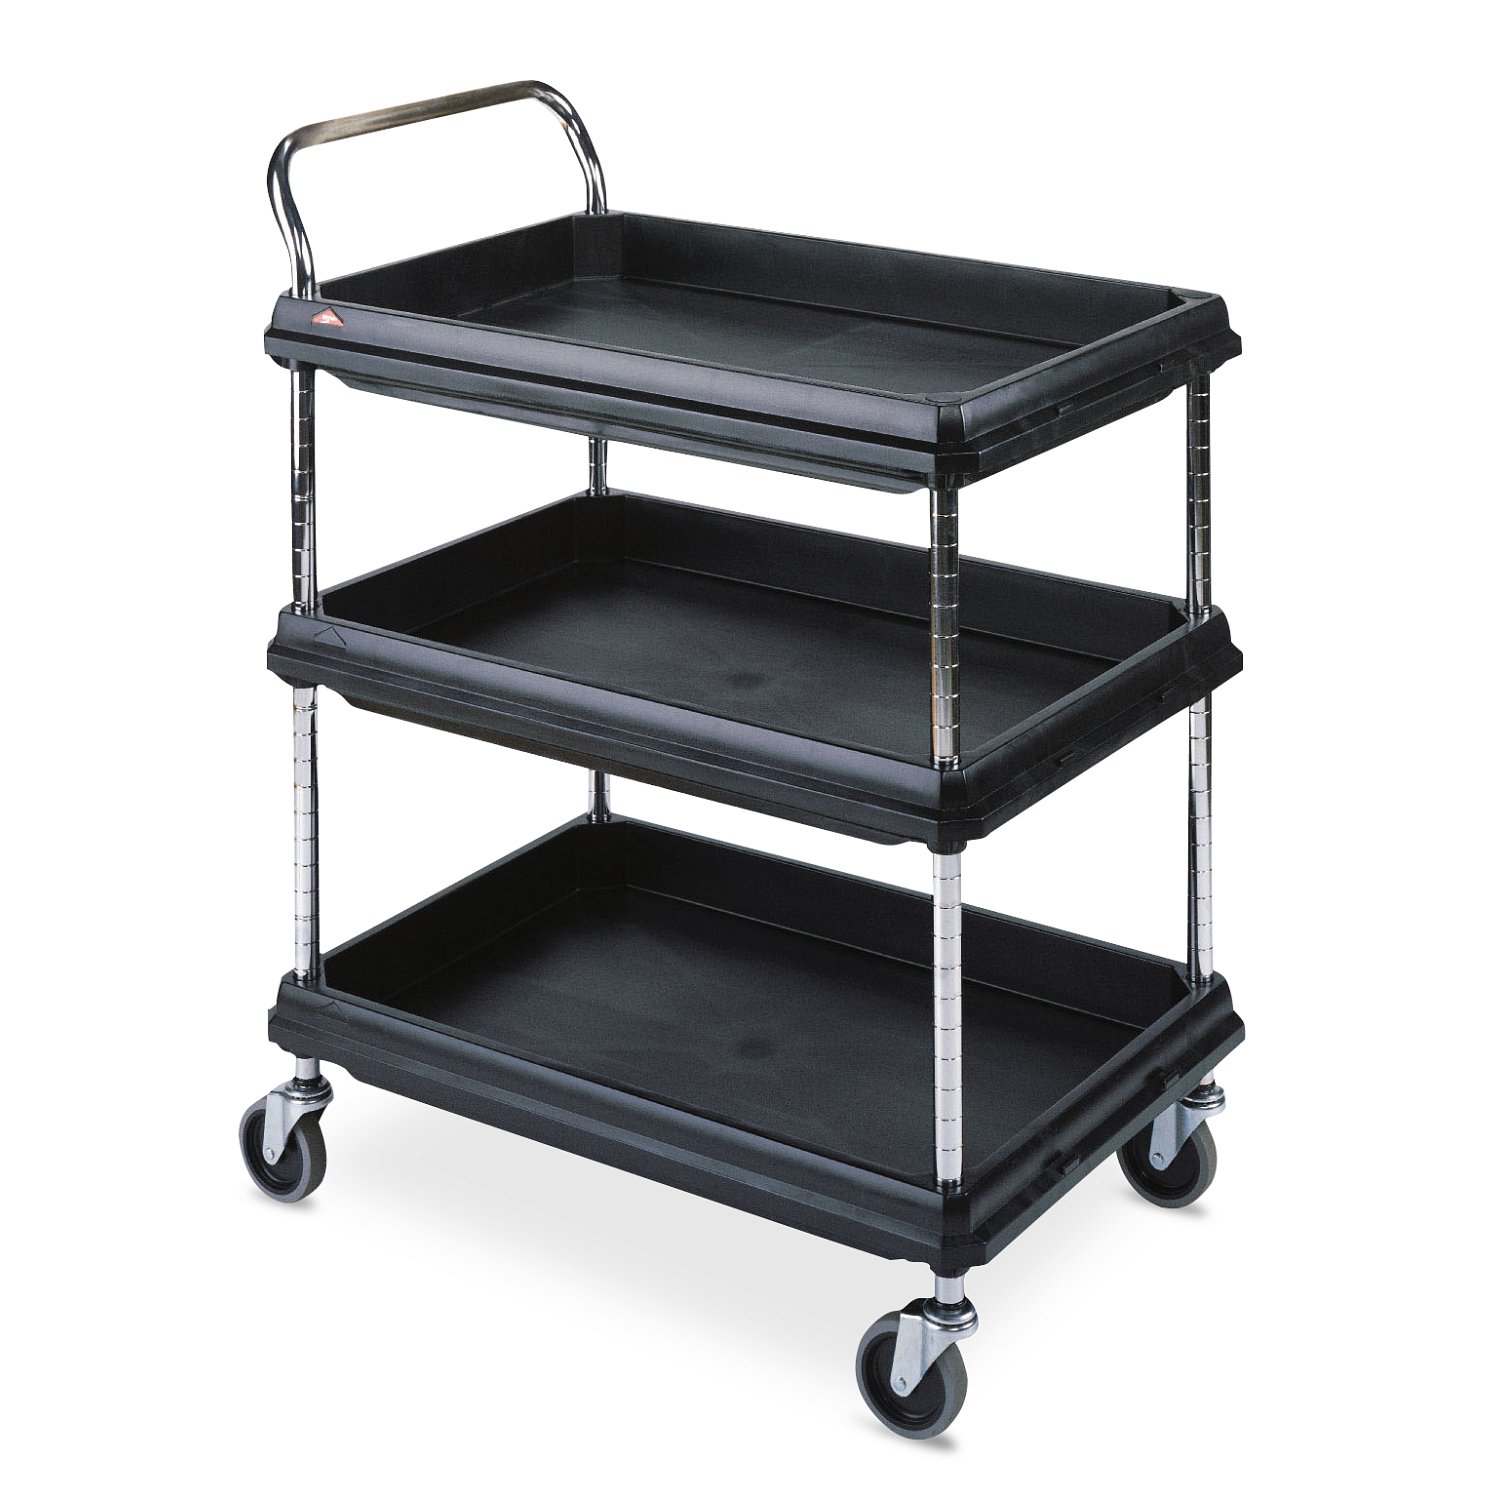
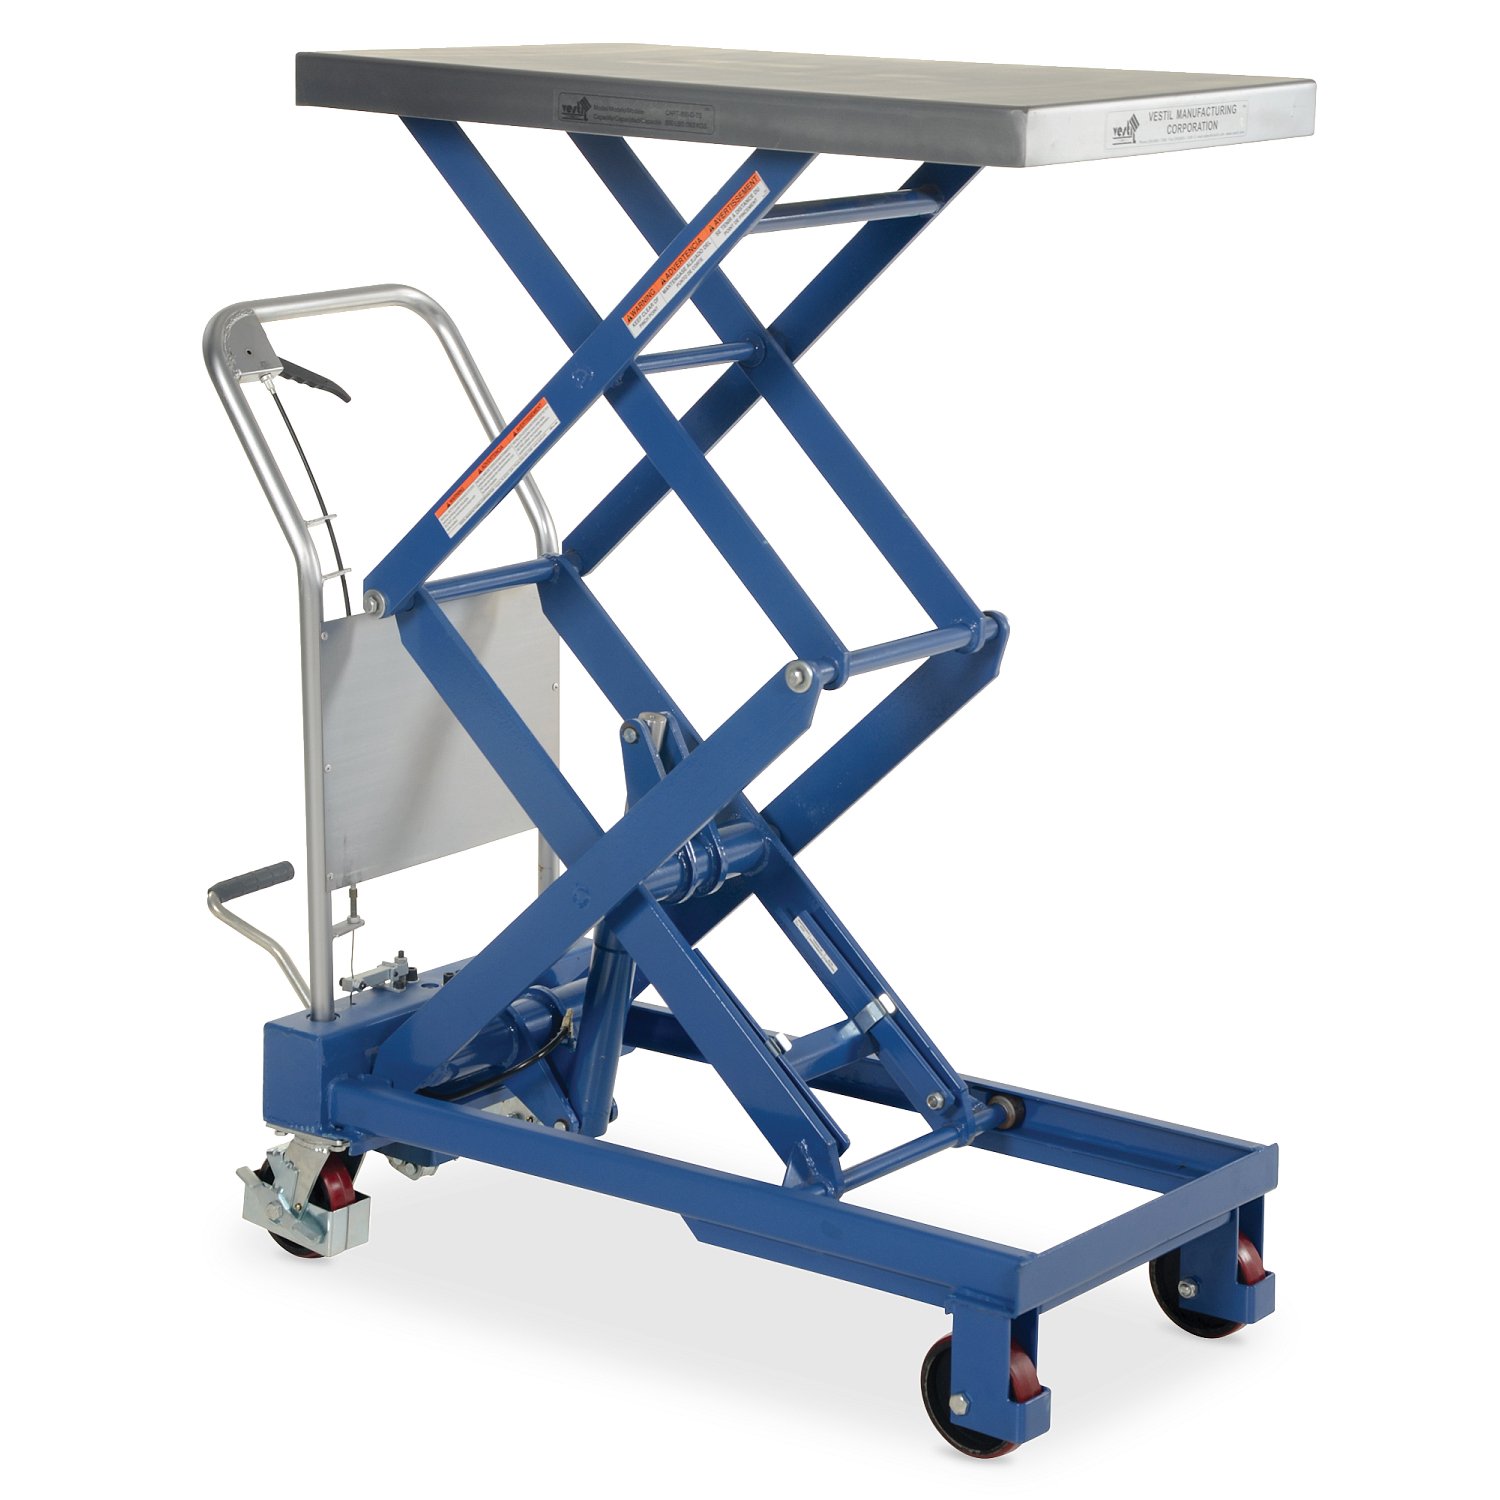
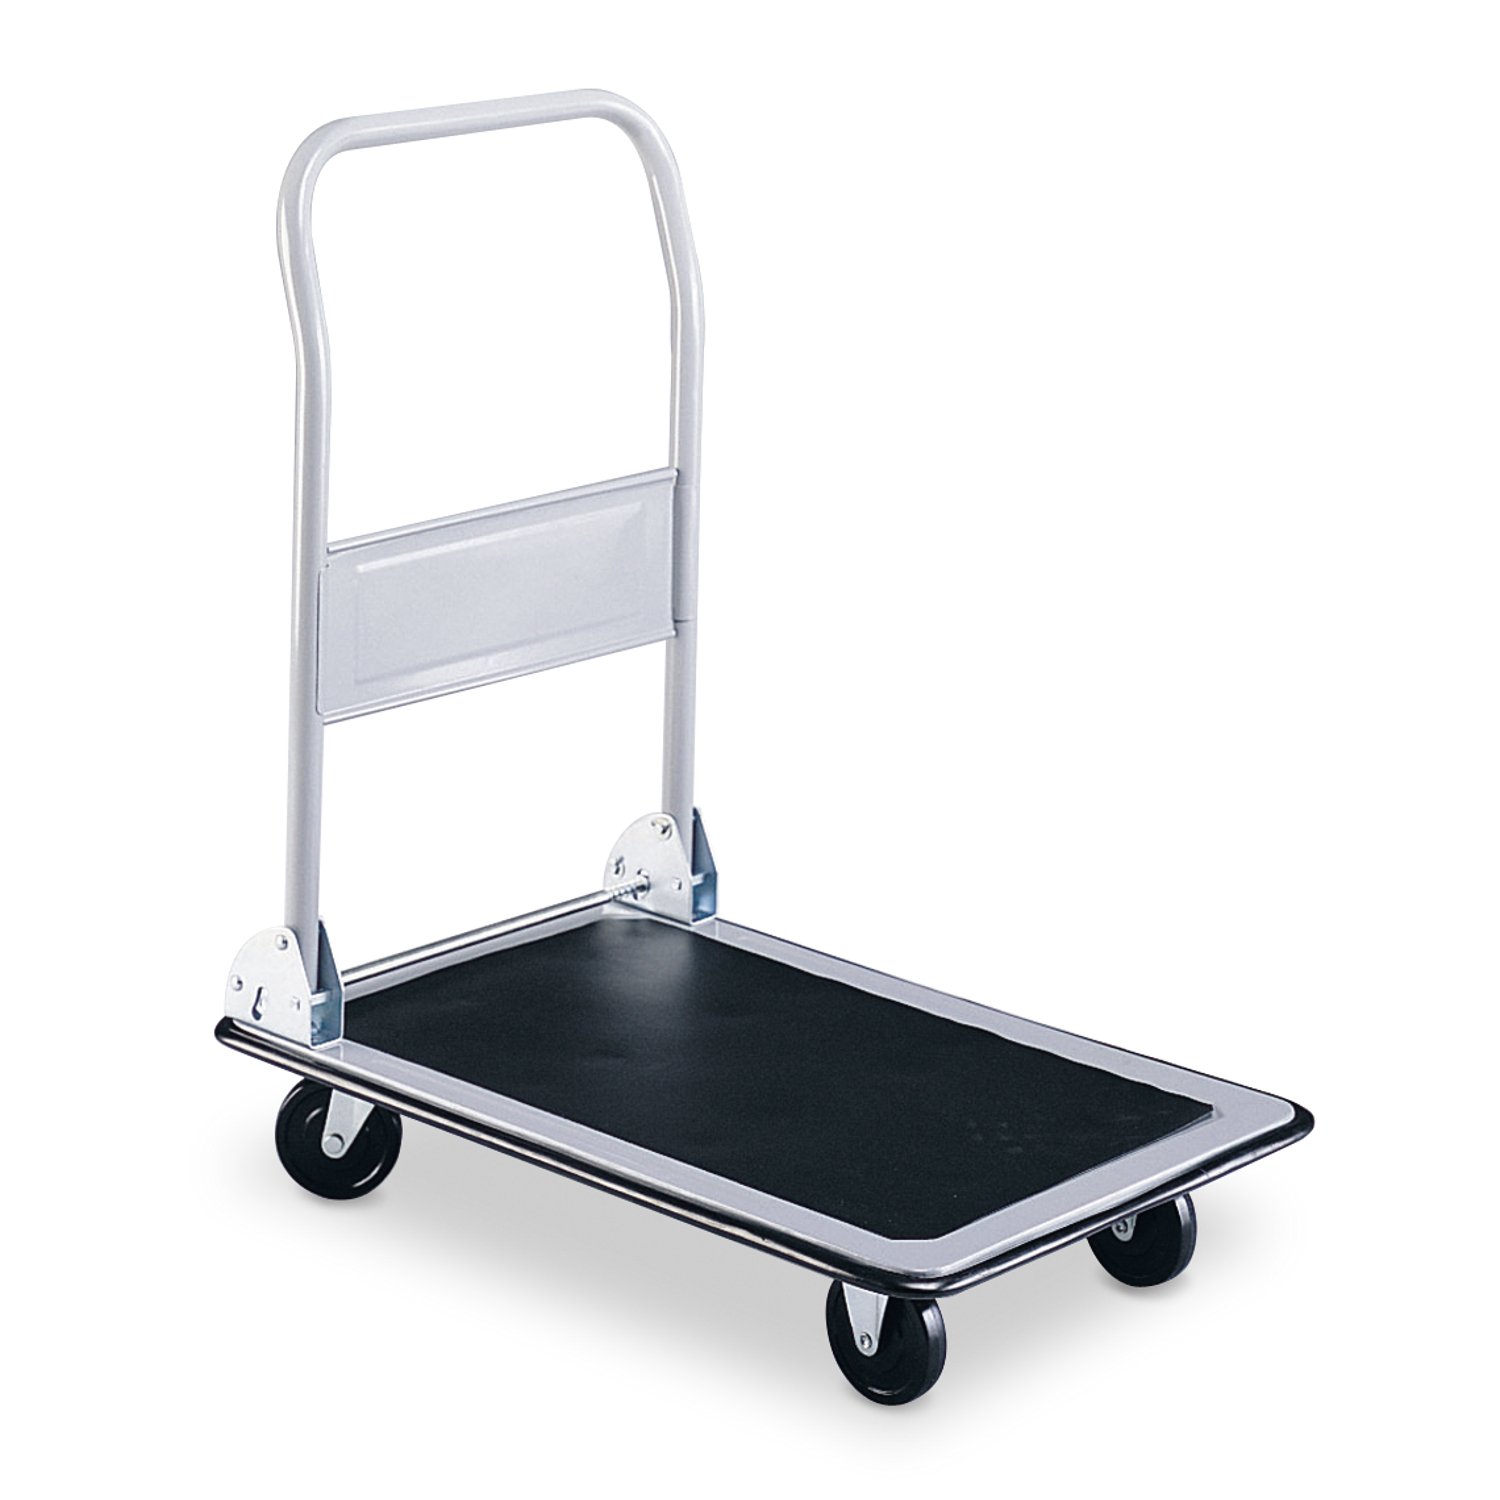
Use clean, dry hands or gloves as appropriate for the material and your institution’s handling procedures. If the object, route or available equipment raises concerns, pause the move and adjust the plan. A short delay is preferable to an avoidable accident.
Use Safe Supports and Display Materials
A good mount should support the object without drawing attention away from it. The goal is to distribute weight evenly, prevent movement and avoid putting stress on fragile, weak or protruding areas.
Support the full object whenever possible, especially textiles, books, works on paper, composite objects and items with uneven weight distribution. Avoid point loading, excessive pressure or mounts that force an object into an unnatural position. Do not pin through collection materials, attach adhesives directly to the object or depend on unsupported hanging elements.
Use display materials that are stable and appropriate for prolonged contact or enclosed display. Acrylic, powder-coated metal and stable fabrics with appropriate dyes are common choices. Exercise caution with ordinary wood, foam, paint, adhesives and other products that may off-gas or transfer harmful compounds. If a material will be used inside a sealed case or in close contact with an artifact, evaluate it carefully before installation.
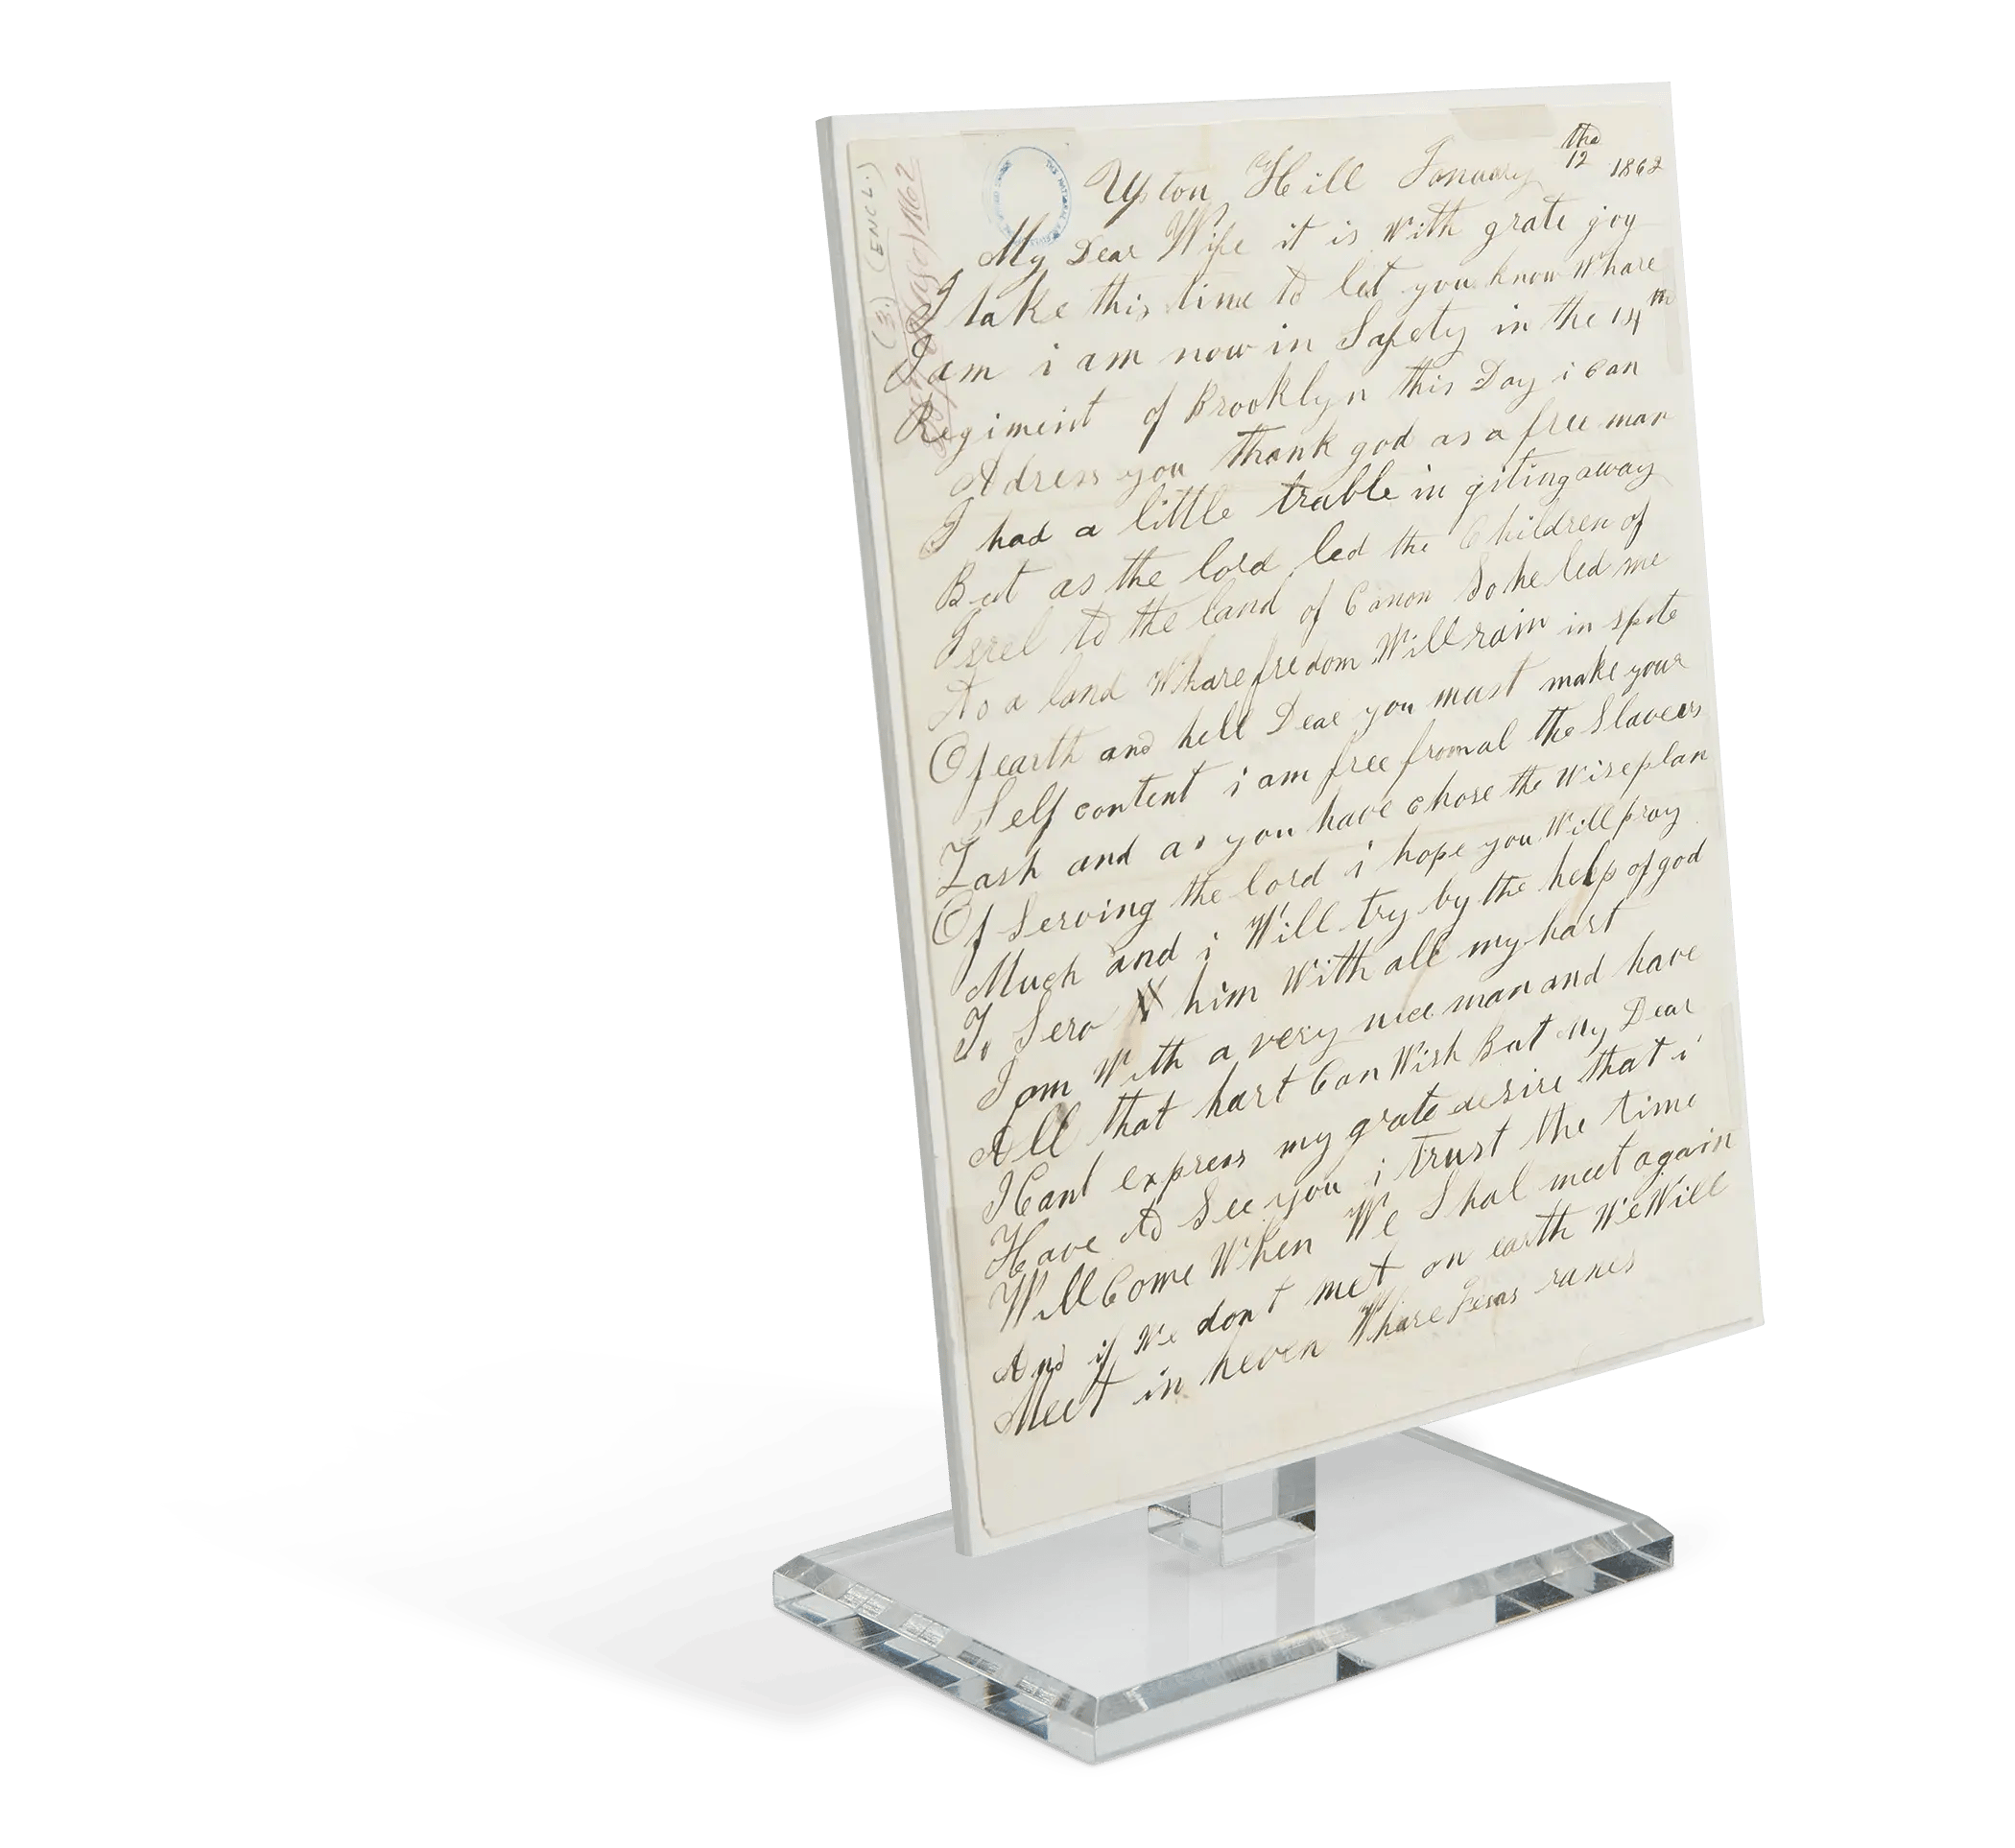
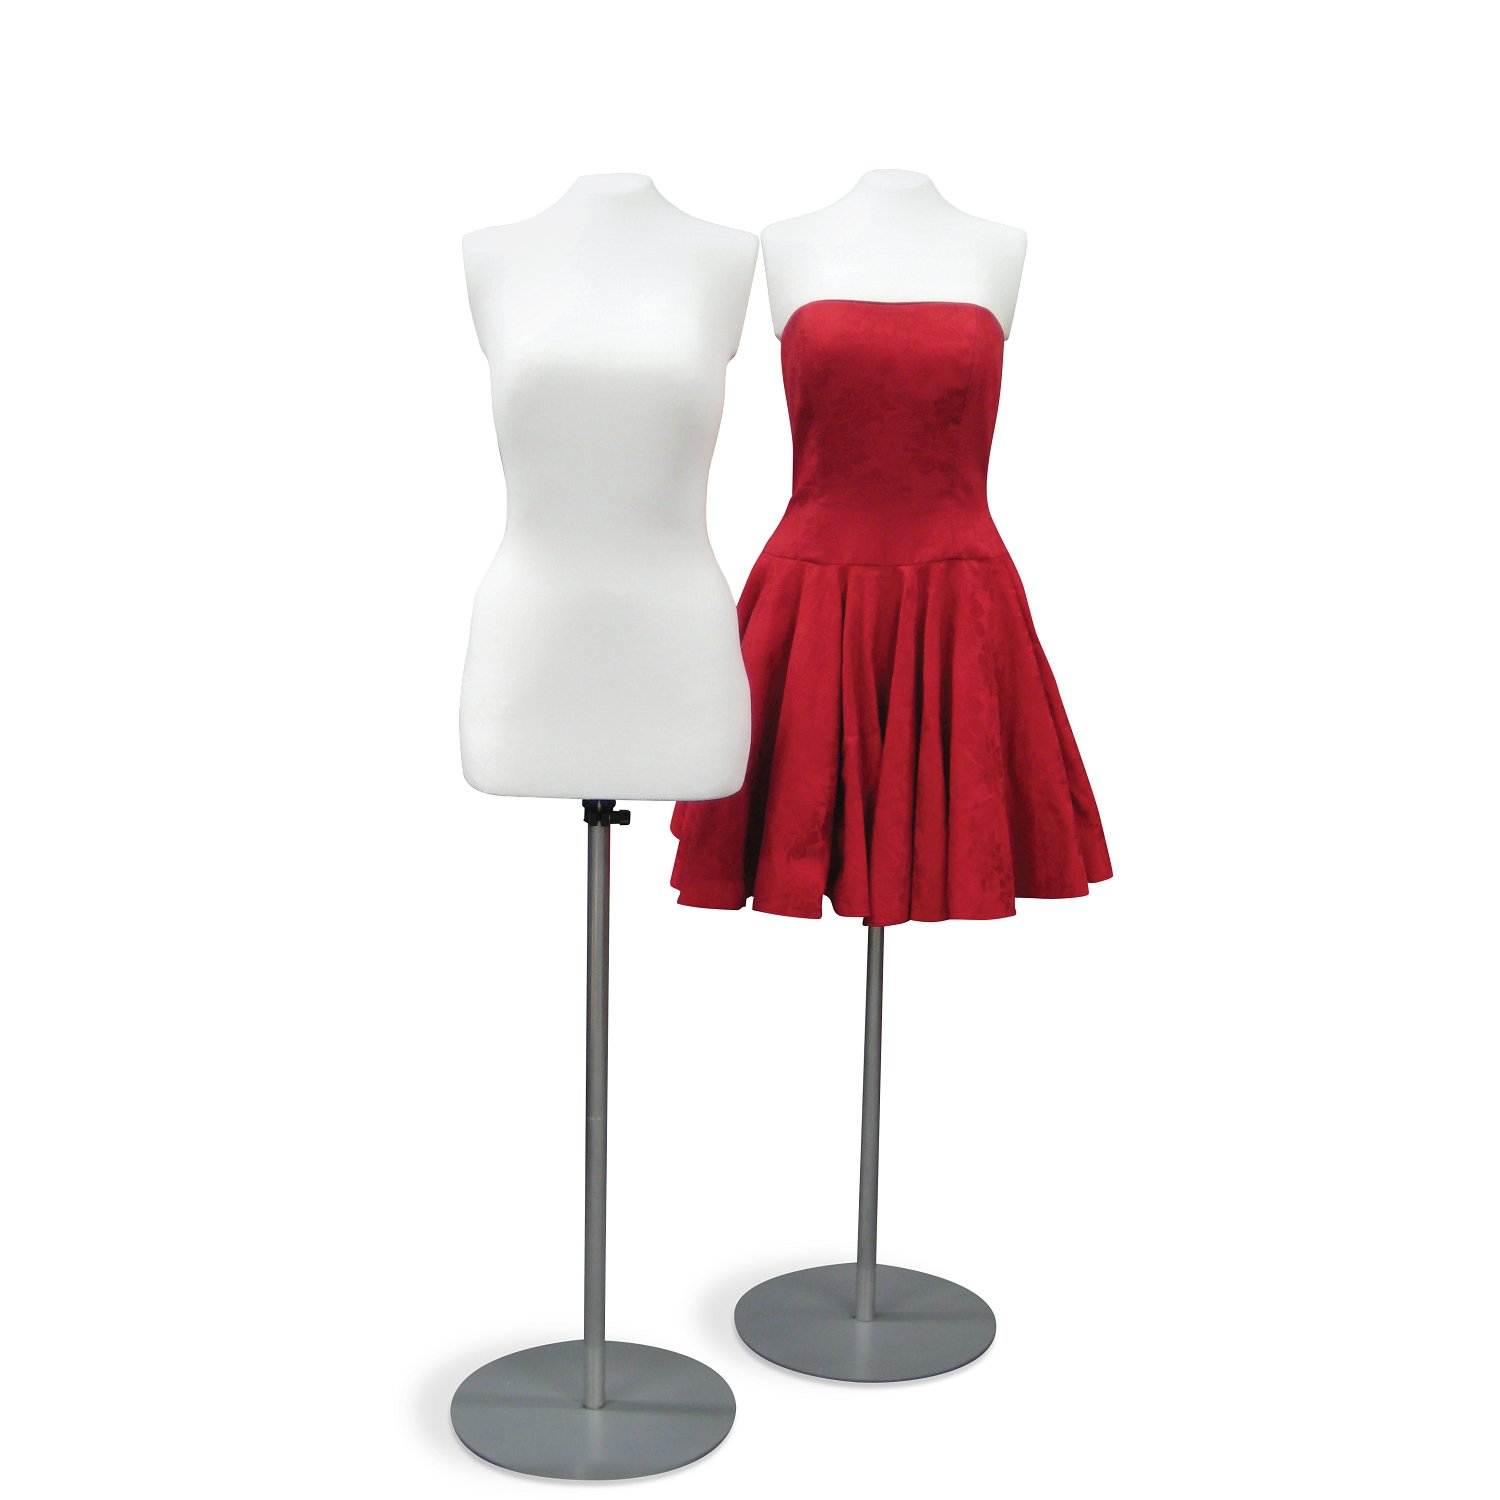
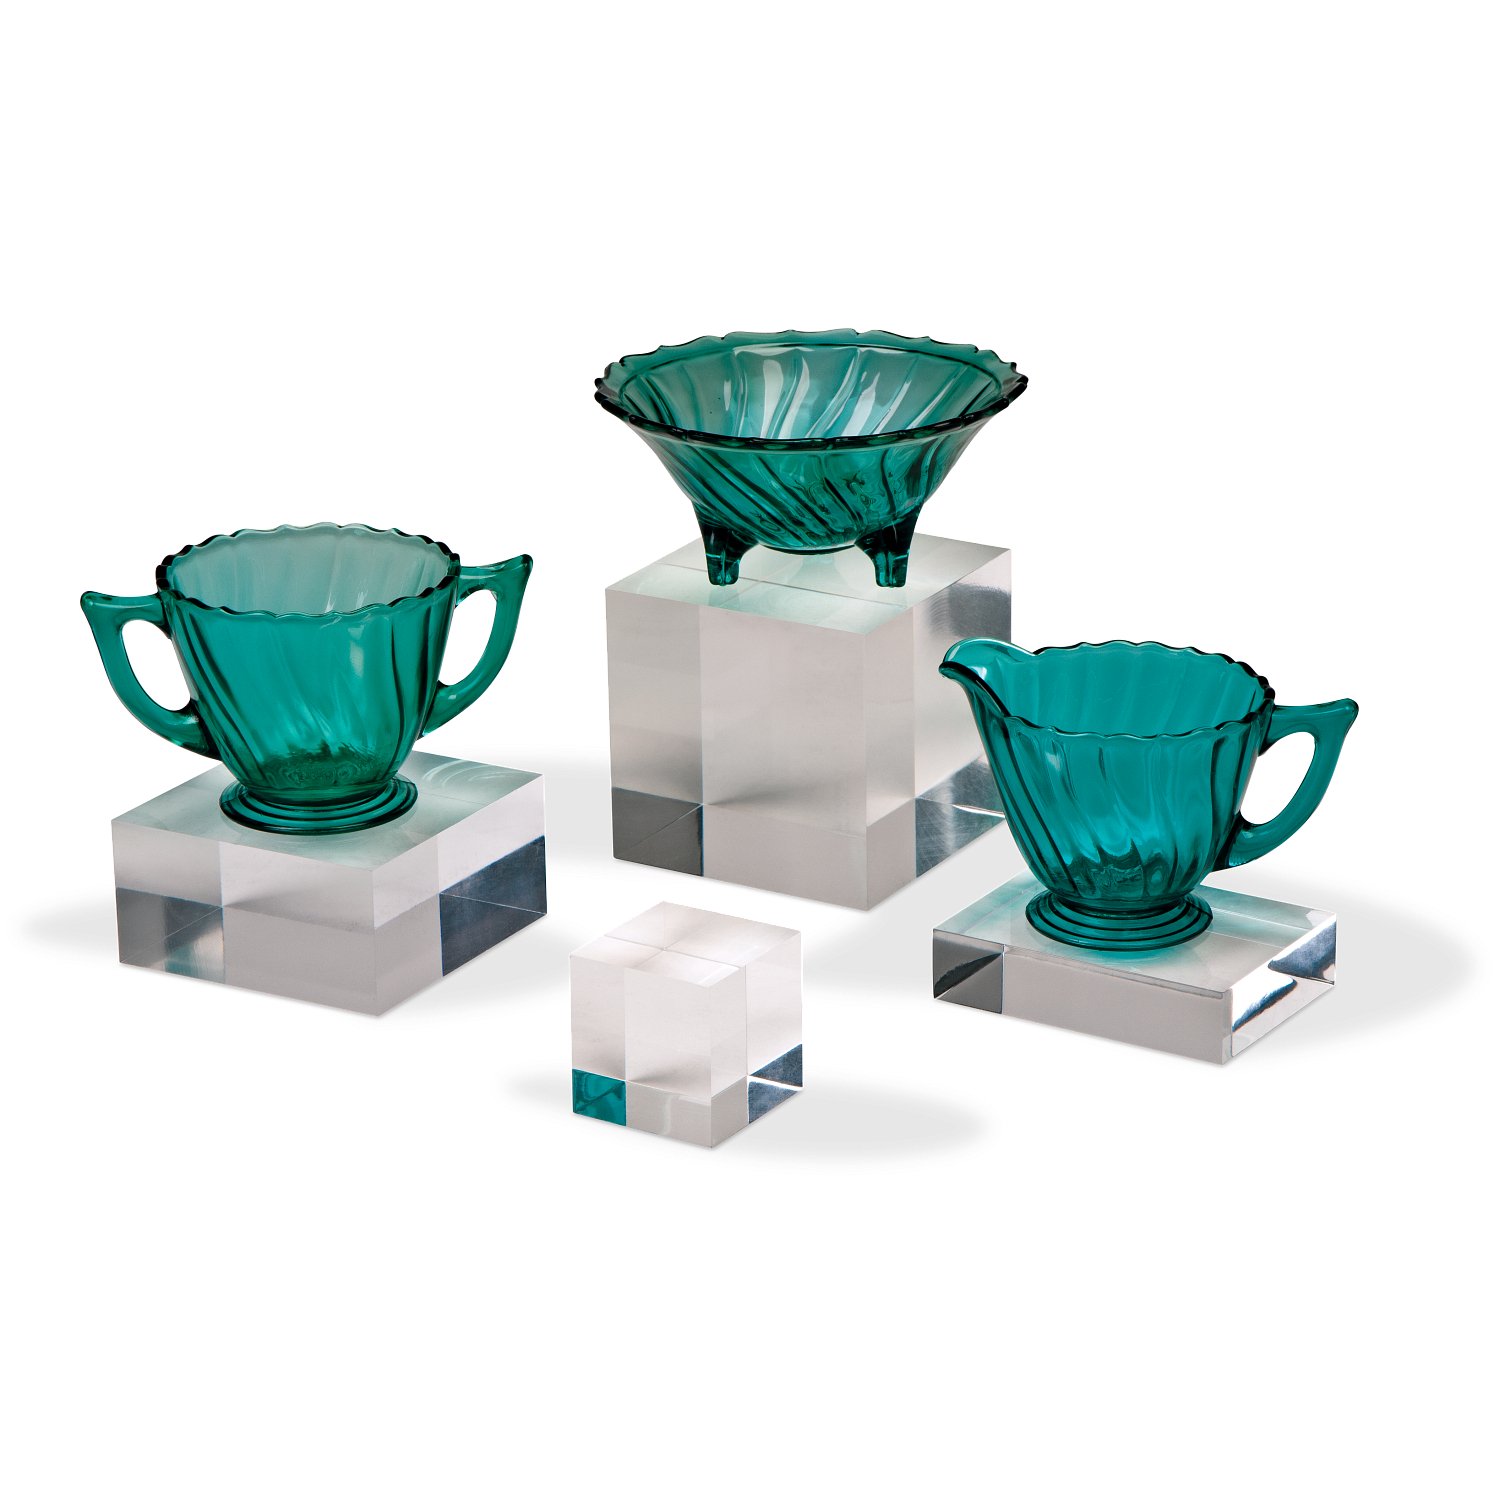
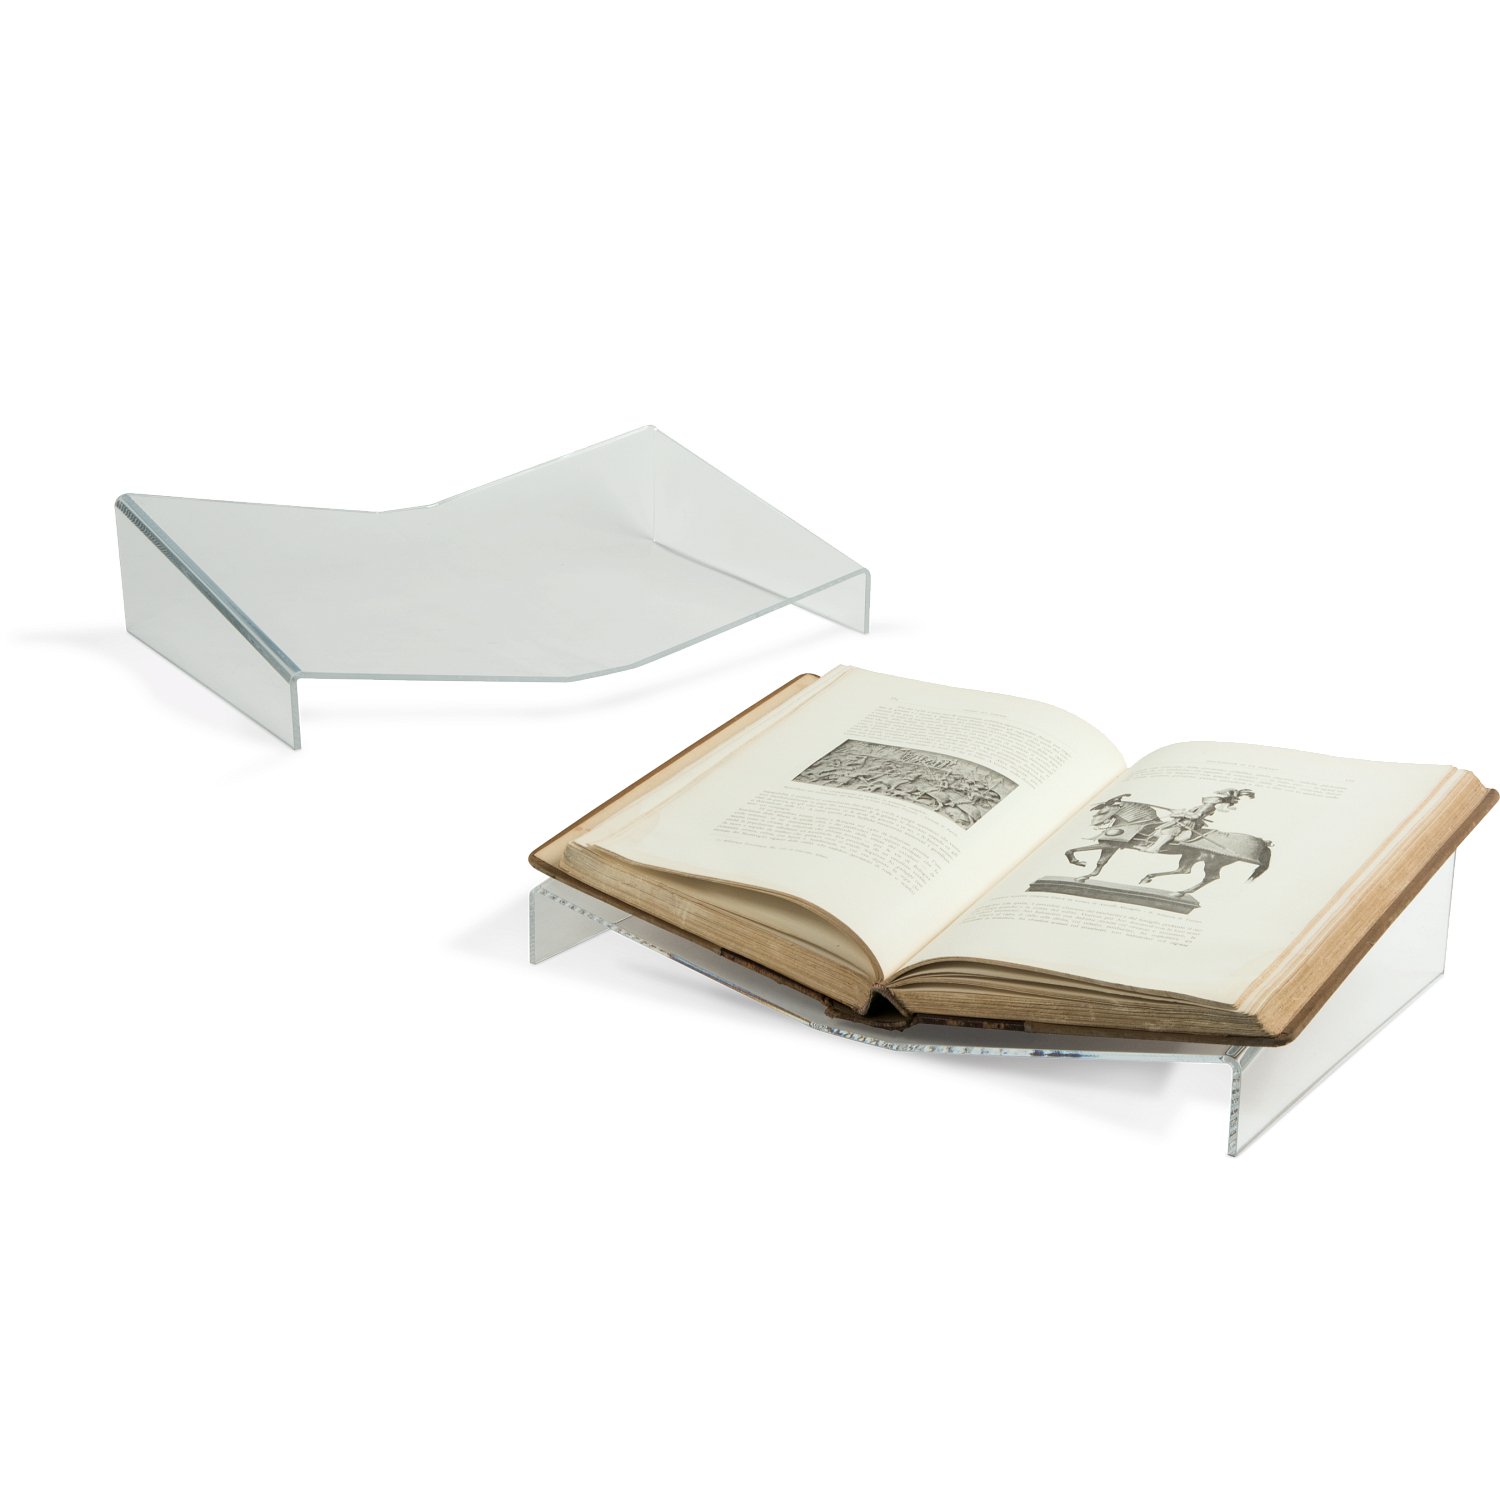
Whenever possible, test mounts and supports with a mock-up, a weight equivalent or a non-collection substitute before introducing the original object. This is especially important for heavy, irregularly shaped, fragile or one-of-a-kind items.
Want to learn more?
- Exhibition Standards & Guidelines - American Institute of Conservation (AIC) Wiki
- The Conservator's Role in Exhibitions: Preservation, Preparation, and Presentation ▶️ - Artwork Archive
- A Guide to Exhibit Development - Smithsonian Exhibits
- Exhibit Conservation: Strategies for Producing a Preservation-Responsible Exhibition 🔒 - American Association for State & Local History (AASLH)